Category Archives: Troy’s Blog

Help Stop Photo Blur

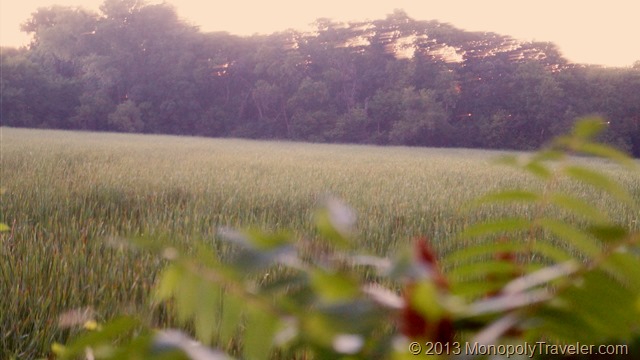
Blurred Evening Photo

Frequently enough photos are blurry. I decided to check the settings some of these pictures and see how many of my blurry photos violate Peter Carey’s rule for sharper images which you can read about here. The image above has a focal length of 55mm and exposure time of 15 seconds. Yes, the camera was on a tripod as I was taking night photographs trying to capture the thousands of fireflies flashing about. Unfortunately this was in a city and there just was too much light for effective lightning bug pictures. According to the rule of thumb, the exposure time should have been 1/55 second or faster. if the camera was handheld. In this instance the camera was probably bumped.

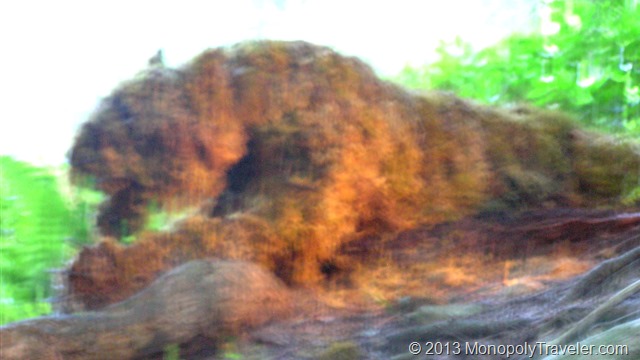
Too slow of a Shutter Speed

Another case where the shutter speed is too slow for the focal length. This was taken at 21mm focal length and 1/2 second exposure time. It should have been at 1/21 second or faster in order to produce a sharper image. Taken again in the evening with the light going away quickly so the camera was compensating for the reduced light.

Image Taken with the correct Shutter Speed

The above image was taken with a focal length of 21mm however the shutter speed was 1/30 of a second producing a sharper image. Another one of those details to improve my photographs.

Only a Short Time to Take it all in….part II

The Freedom Trail

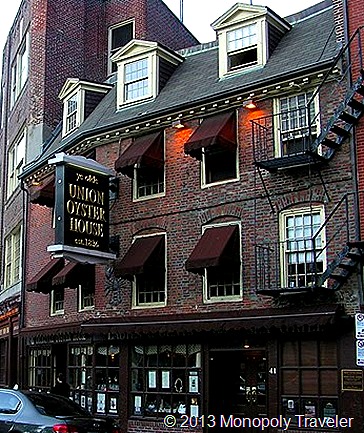
Now that the airfare is confirmed it’s time to reserve hotels right? Not quite yet. At least that is not my order of planning. My next step is to spend a little time researching what sights I want to see and activities I may want to do. This allows me to find hotels closer to the places I want to spend time at helping eliminate transportation time and possibly costs. Also, if there is something that you want to accomplish while in your place of destination but require reservations in order to assure you get to do it such as a Red Sox game at Fenway or watch the Celtics in the TD Garden you have a little head start on others giving you a better chance to do that activity. In our case it was eating at the Union Oyster House. We probably could have made it in there without the reservations but we may have had to wait and spend more time to get in taking away from other sights.

New England '11 096[1]_thumb[16]

Since Boston is such a historic city we definitely wanted to visit it’s past. A very quick web search brought up the Freedom Trail which included most of the places we wanted to see. Looking over each sight on the Freedom Trail we prioritized the list because there are so many stops on the trail and there wasn’t enough time to really see all of them and have time to do other things. One of my other high priority stops was the Bull & Finch pub used as the basis for the hit comedy Cheers. Now that I know what sights we wanted to see I searched for hotels closer to those destinations and figured out modes of transportation while in Boston. Boston has a pretty good train network allowing you to get around to many of the key places. Also, take it from me, driving in downtown Boston is quite stressful due to the traffic and narrow streets.

*Money Saving Tip: Many hotels will give you a reduced rate if you book them online and pay for them in advance. This can save up to 20% if you know that is where you will be staying. Be warned, once you pay in advance there is no canceling these reservations.

For us, we chose to stay in one hotel for a couple of days and on our last night move to a different hotel which provided a shuttle to the airport the next morning. Taking some time to plan what we wanted to do in Boston allowed us to see what we wanted and do what we wanted. Each hour was not planned but just a general idea of things to do that day. The exception was dinner reservations which had a finite time. Knowing your goals ahead of the adventure can help fulfill your needs for your vacation which does require a little bit of research and planning.

The Union Oyster House

To Read further on exploring Boston check out these pages:

Visiting Cheers

The Freedom Trail

Only a Short Time to Take it All in?

Boston

Finally, our vacation has arrived. Better hurry and pack because the flight is early tomorrow and we need to get going in order to avoid missing the plane. Once you’ve arrived at your destination it’s time to find a hotel and check before deciding which sights to see. It seems that the fast pace at which our lives move, the trips we take have become shorter. How can you take in all of the sights with very little time? With only a few days to relax and see the sights a little planning will help.

It took a little time to make to flight arrangements or a driving plan to arrive at your destination. Doesn’t it make sense to spend a little bit of time to figure out what you want to do and where you want to stay once you’ve arrived at that destination? I understand that it’s no vacation if you have every hour of each day planned. That is not what I’m writing about here. Let me go through an example of planning our adventure to Boston.

Our very first objective was to look over transportation cost to Boston. Since we were leaving from Minnesota and time was a factor flying was determined to be our best choice of getting to Boston. After figuring out we would be flying, it was time to pick the dates.

*Money saving tip: flying on a Tuesday or Wednesday can save a significant amount of money. Often times we save enough money to stay an extra night in a hotel and then some.

I use sites like Expedia and Kayak to find which airlines and which dates are the most affordable. Sometimes I will go directly to the airlines website if I’m trying to use rewards to help reduce our overall flight costs. If you fly frequently enough, signing up for rewards programs either through credit cards and/or the airlines can really help keep costs down especially in these times of higher airfares. Yes, it does require some extra time to sign up for and earn these rewards as well as use these rewards but it can be worth it.

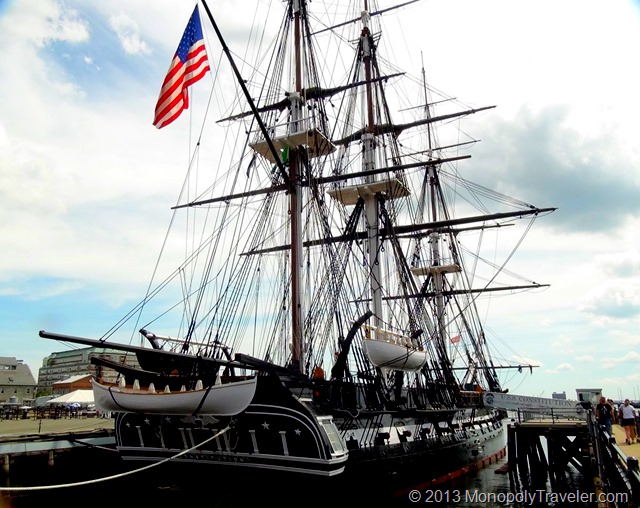
The USS Constitution - 'Old Ironsides'

Let me provide and example: on our trip to Boston in 2011 we were able to get 4 airfares from Minneapolis for $500. Without our rewards programs it would have cost us almost $400 per airfare for a total of $1600. That’s over a $1,000 in savings! This required us to use 2 different rewards programs which can be a little tricky when booking the flights if you want to get everybody on the same flight. You need to first check each program and which flights are available through each to find which one match and then go through and book them selecting seats next to each other. This is some of the extra time required to use these programs. For those that are saying sure you could do that in 2011 but costs have gone up since then, We recently booked 4 fares from Minneapolis to Seattle for $500 this summer so it’s still possible.

To Continue Reading for more tips click here….

JPEG and RAW

Unedited

Whenever possible I shoot in both RAW and JPEG. This has a couple of advantages for me. First, I can immediately view JPEG on a laptop or tablet to make sure the camera settings are what I’m looking for and to view the images I just took a little faster than bringing up the RAW images. I use the RAW images when I want to edit a photo. Is this necessary? That’s what I wanted to find out by taking a RAW image and a JPEG image of the same shot and see how much of a difference there was in editing it.

The photo above is the original picture as shot by the camera. It’s a little over exposed as I was using a slower shutter speed in an effort to get that silky motion in the water. That’s why this image was chosen. I wanted to see if the RAW image and all its information would provide a better picture after it was edited due to all that information. You can see the edited RAW image below.

RAW

I’m certainly no expert at editing photographs but I am attempting to improve in an effort to bring out the beauty hidden in most pictures so that others can get an idea of what that photo was intended to show. After a few tweaks the photo above did not turn out all that bad. The water is still to bright but much of that information was clipped from the photograph making it impossible to retrieve.

This next photograph is the JPEG version of this shot. I attempted to keep as many of the edits the same as possible between these two photos to see how they would turn out. As you can see, there is not much difference between them on this post. I will confess that the JPEG took more time to edit in an attempt to make both pictures look the same. The difference becomes more noticeable at 100% resolution.

JPEG

Here you can see a portion of the images at full resolution. Can you guess which one is the JPEG and which one is the RAW photograph?

100% size JPEG image

The JPEG version is above and the RAW version is below. At this magnification you can see the RAW version is a little more clean and crisp. Admittedly some of that has to due with the sharpening I applied to each one. The JPEG version likely has a little higher sharpening applied than the RAW version accounting for some of the difference.

My conclusion: JPEG is a perfectly acceptable format when using smaller size images. If I wanted to use a large print of this shot, I would definitely go with the RAW format after editing. To see Peter’s article which is the basis for this post in the photography experiment series, check it out here.

100% Size RAW image

Chasing Waterfalls


High Falls - Baptism River edited


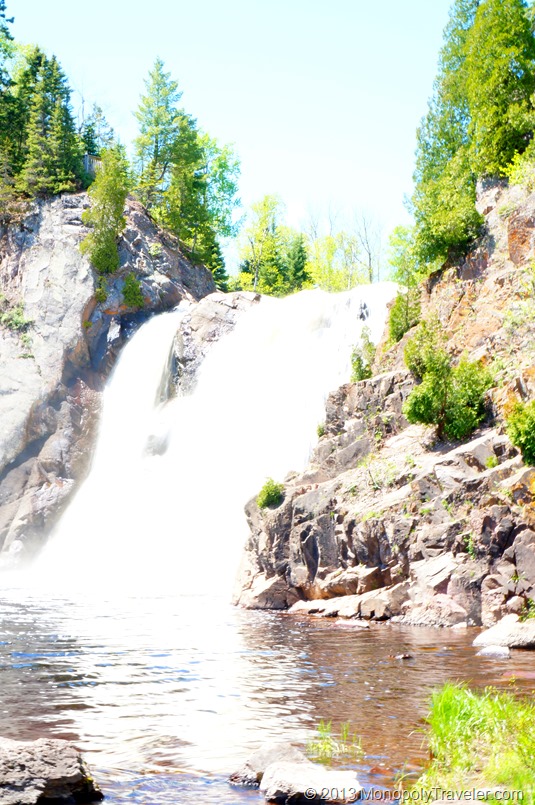
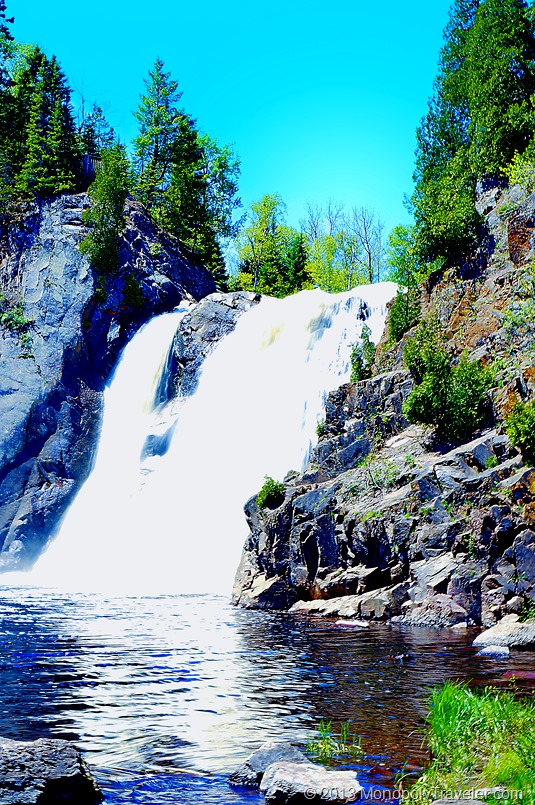
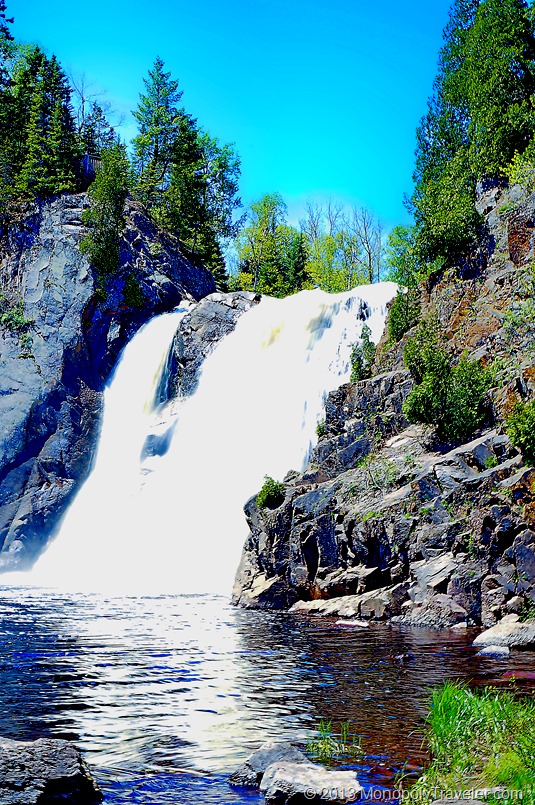
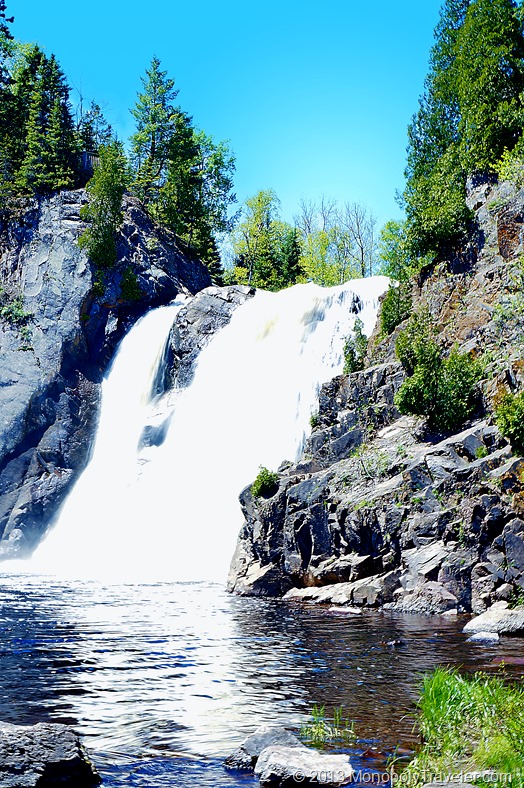
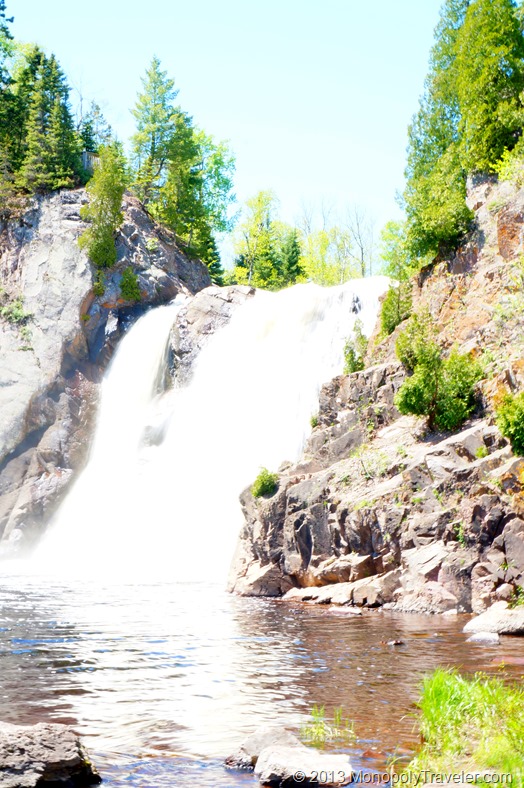
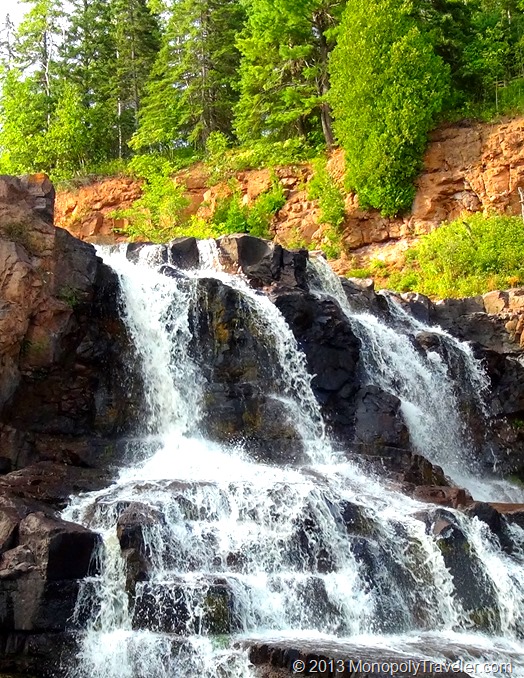
I did it. I went chasing waterfalls. And I did a fairly poor job of it in my opinion. One of Peter’s rules about waterfalls, which you can view here, is to avoid shooting in mid-day. I think every waterfall I photographed was mid day. Unfortunately there were time constraints and photographing waterfalls at another time wasn’t much of an option. This was an attempt to get the silky motion with shutter speeds of 1/10 second but it was just too bright out and I wasn’t able to change the aperture and ISO enough to prevent over exposure. Using editing software I was able to get most of the picture back from being over exposed but the waterfall is still to bright to really get the full effect of motion. You can see the picture before editing below.

High Falls - Baptism River unedited

When looking at the original, it is surprising how much you can do to improve the photograph.

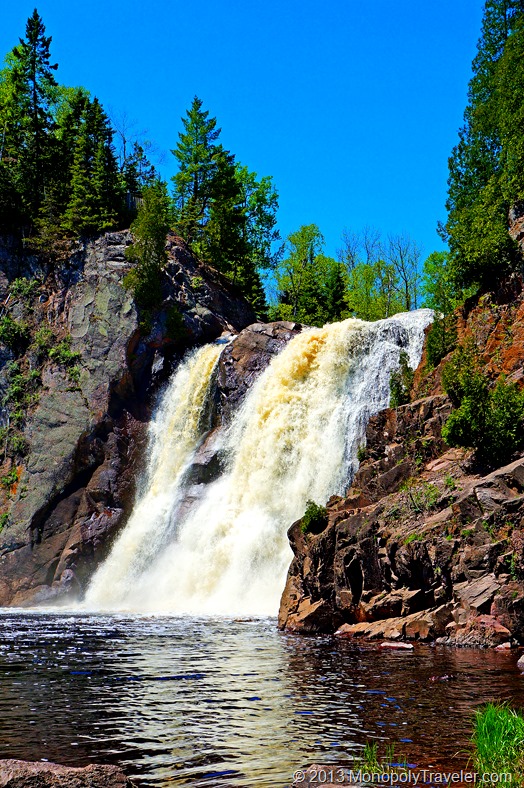
This next picture was taken using the auto settings on the camera. Since it was so bright out the shutter was able to move fast and essentially stop the water motion. Fortunately there is enough water volume going over this fall that stopping motion works in this case.

High Falls with Motion Stopped

Here is perfect opportunity to try the silky motion by slowing down the shutter as the light likely would have allowed for it as well as the lower volume of water cascading over the falls. Unfortunately, this was taken before reading the ‘Shooting Waterfalls’ post by Mr. Carey with a point and shoot camera. Guess I’ll have to try it again another day.

Gooseberry Falls

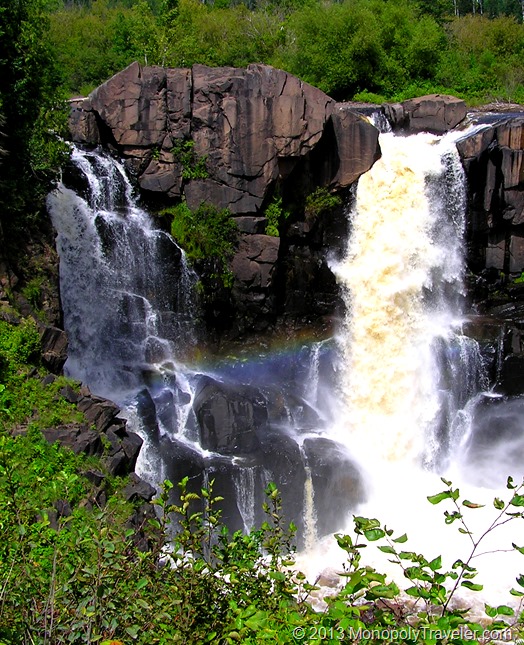
This photo is of Pigeon Falls at the Minnesota – Canada border. Here is another case where silky motion would have been interesting. Although using a slower shutter speed may have altered the rainbow between the falls reducing its effect. Again this picture was taken before reading the waterfalls post and with a point and shoot camera. Hopefully I’ll have another opportunity to photograph these falls. Will the lighting bring the rainbows again next time?

Pigeon Falls

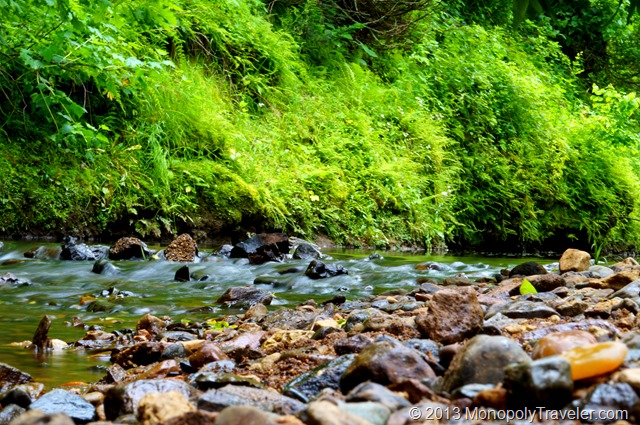
While enjoying a creek I decided to play with a slower shutter in an effort to get the silky motion and this was the best I did. There was no tripod so this was 1/10 second shutter speed while hand holding the camera. In fact none of these waterfall pictures were taken using a tripod. Not bad for holding the camera if you ask me. Taking more time I would set the camera where it would be still and take a longer exposure photo to get even more silky motion.

Definitely room for improvement in shooting waterfalls. I will most likely get the opportunity while visiting Alaska later this summer. I suppose getting out for more practice might be a good idea before then.

Silky Motion Rapids

Life Experience Through a Plant

Colorado Wild Columbine

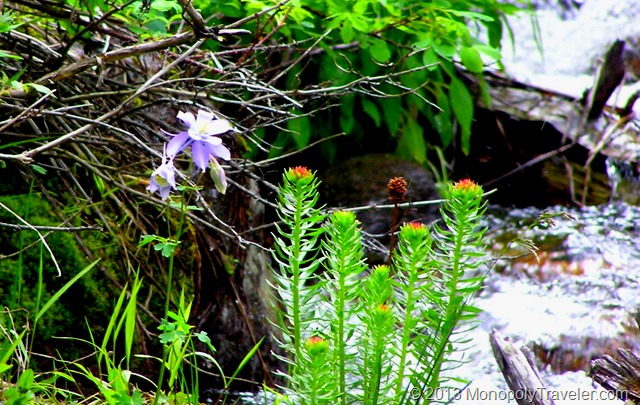
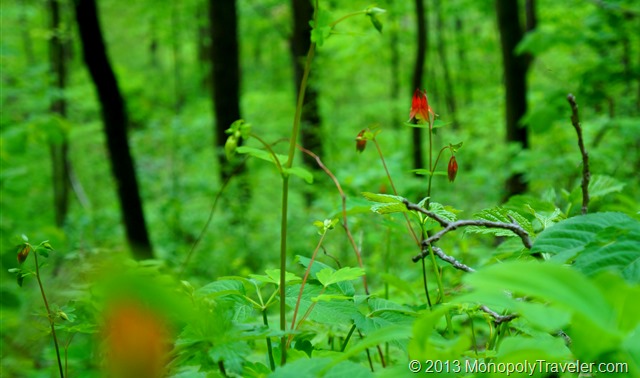
The above photo is of a Columbine as photographed in Rocky Mountain National Park. We were taking a family trip there as part of our Monopoly travels to see the Flattop Mountain trail. In addition to seeing this trail there was much else to explore. To get this particular photo I had to climb down a very steep bank. The purpose was to see one of the higher waterfalls in the park. Unfortunately most of these falls were covered from view by trees. Once I got to the river I noticed some of the flowers in the area and took a few pictures. When looking back at this picture I remember the adventures in the Rockies but also enjoying a moment of solitude as the water rushed passed. The rest of the family was not far and were in sight almost the whole time but this was my own little personal experience in the Rockies that not many others get to share.

Below is a picture of another Columbine which I photographed in the bluffs lining the Mississippi River. This was another family adventure where we decided to embark on a 7 mile hike exploring the bluffs. This photo is a reminder to me of the time shared with members of my family and completing the longest hike for our family to date. It also reminds me of some great views of the Mississippi River and surrounding landscapes.

Midwestern Wild Columbine

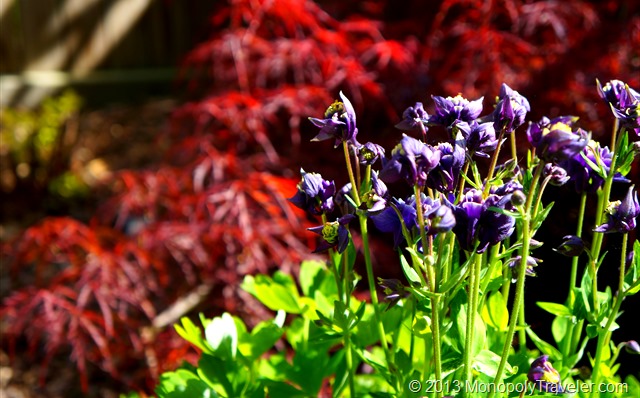
This last Columbine was a Mother’s Day gift to my wife. It is a hybrid that was grown in a greenhouse. Fortunately I have actually been to the greenhouse where it was grown, however it was not purchased there as it is a wholesale greenhouse only. It is a wonderful yearly reminder of why it was added to our landscape.

Each of these Columbines has a unique experience attached to them while all being closely related to one another. One found while exploring in the Rocky Mountains with another discovered on an adventure to the Mississippi River Bluffs and the last one represents the family that goes on these adventures along with the place that family returns to at the end of an adventure. At least for now!

Hybrid Columbine

Rule of Thirds

Thirds

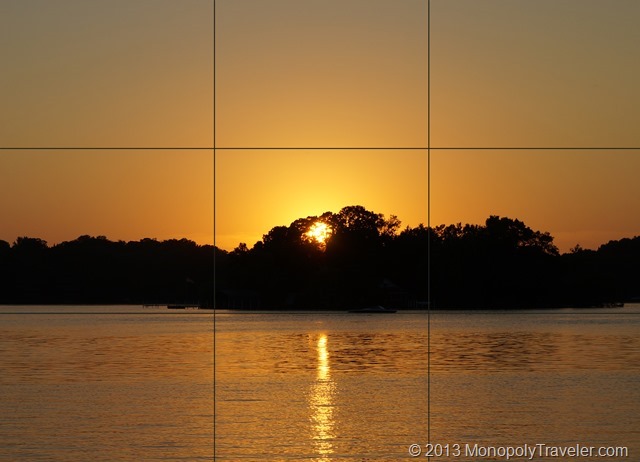
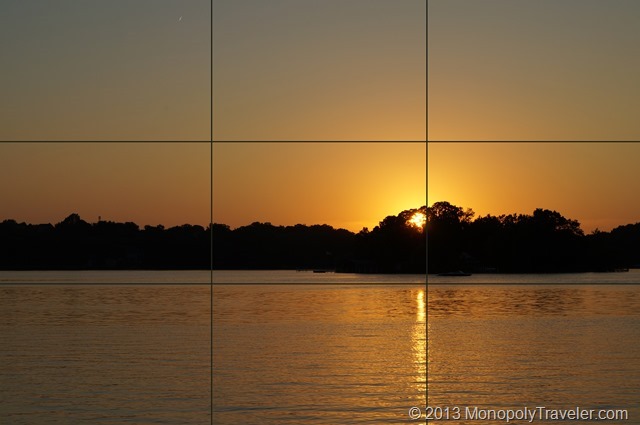
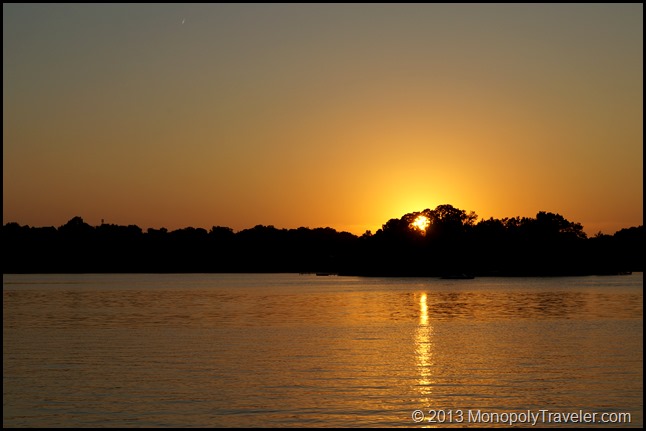
One of the rules of photography is to place focal points or points of interest into a third of the shot. That is a point where the lines intersect on this grid.  For a little more in depth description check this out. The grid above represents a photo divided into sections equaling a third. Many cameras have this grid available for display and I have added this into my display. I enjoy photographing the setting sun (and rising sun if I’m out and about with the camera) so this seemed like a good subject for the thirds experiment. The picture below has the sun centered in the photograph as you can see by the grids. Hmm….interesting.

Setting Sun Centered

I really don’t think it is all that bad but then again the subject – setting sun over a lake looks good in just about any picture. Now let’s see what this looks like using the thirds rule. After adding the grids you can see that the sun is in the lower, right third of the picture. I definitely like having more of the colorful sky in the picture but in this case the water could really be shown more, especially with the suns reflection. As is stated in Peter’s post, “The Rule Of Thirds is a handy place to start when trying to figure out how to frame a scene. It’s also a great jumping off place for further experimentation.”

Setting Sun on Grid

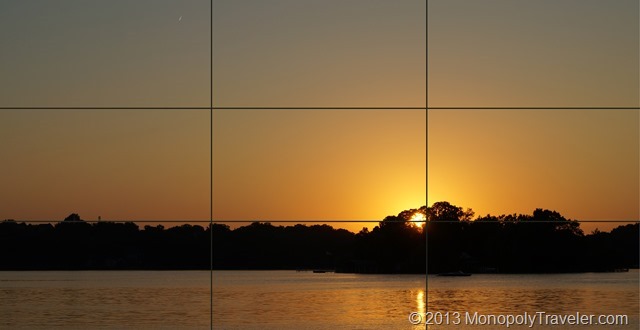
I do think the sun and it’s reflection in the water look better off to one side or the other so let’s keep that part of the photograph at the thirds line. Adding a little more water to the picture and just a little bit less sky gives me a picture that shows the highlights of what I was enjoying that night – water with the suns reflection in the waves, setting sun with so many beautiful colors, and the silhouettes of the surrounding shore contrasting with the sky and water. Yah, keeping the sun to one third of the picture is better than centering it in my opinion.

Adjusting the Rule of Thirds

For those who would like to see this picture without the grids on it, here it is.

DSC04329

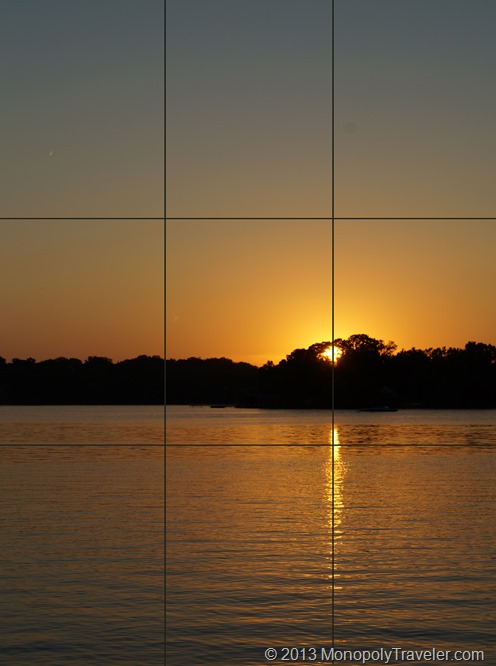
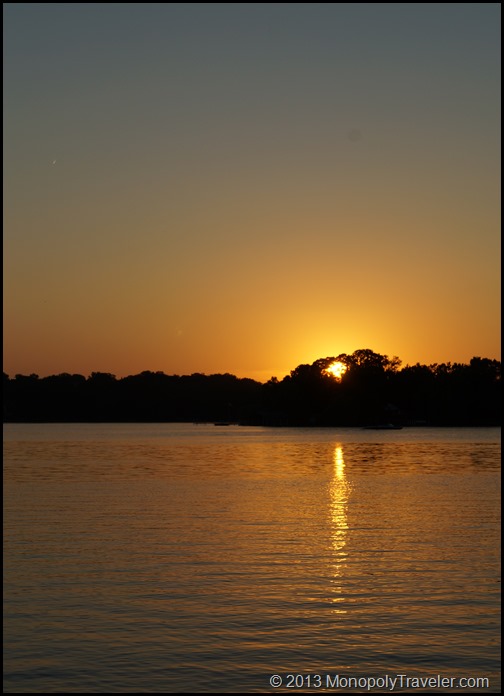
Since I really liked the sun reflecting in the water and the transitioning colors of the sky, changing the orientation of the camera offered the opportunity to capture more of both. I still kept the sun on the right third of the picture as you can see by the grid lines. That did it! this shows all of the sun’s reflection in the water and the colors of the sky transitioning from the reds and yellows to the darker blues of the oncoming night sky.

Verticle with Grids

Once again a chance to look at this picture without the grids. If trying to decide which one of these to frame, I’m not sure which one I would choose. Which one would you choose? Why? It would probably depend on where I would hang it or what I was going to do with it.

DSC04330

Histograms

Without Looking at the Histogram

As I continue to practice with cameras and improve the photos I take, I added the histogram to the rear display to see how the exposure changes with different shots. You may first want to read Peter Carey’s article describing histograms before continuing on with my attempts with it. The photo above was the first picture taken before putting the histogram on the camera display. This was taken using the camera auto settings.

3093 hist

This is the histogram of that photo. The high peak on the left indicates the darks/shadows are being clipped. Ideally the histogram would have the peak towards the center meaning that the sensor was getting as much information as possible. This is a bit of a challenging situation because part of the subject is in the sun while other parts are in the shade which you can see with the over exposed leaves and some dark areas in between the plants. in an effort to maximize the information the sensor is picking up I pointed the camera at the same plants but from different directions as well as changing some of the camera settings.

Adjusting to Optimize the Histogram

Focusing on areas of the plants that are in the sun eliminated the darks/shadows clipping as you can see in the histogram below. There aren’t as many over exposed areas in this photo as in the picture above. Both of these photos are using jpegs as taken by the camera. Because they are jpegs the advantage of the histogram still is not as visible.

3102 hist


To get the most out of the information that the camera sensor picks up a RAW image is useful. RAW images store more data maintaining more of the properties of that picture which becomes important when using photo editing software. The photo below is the exact same picture as above but started in the RAW format and processed with an editor. Because I paid attention to the histogram, the camera sensor was able to get more information almost eliminating the over exposed leaves as well as getting a truer color. Also, the shadows provide a little better sense of depth because they where not clipped when taking the picture.

Another little detail that can really help get better pictures in the right situations.

RAW image corrected with histogram

A Memorial Weekend Hike

Among the Mississippi River Bluffs

During the holiday weekend at the end of May we were camping in the Bluffs near the Mississippi River. Since it was a later spring the water temperatures were colder than usual, it was cloudy and cool so the fishing would likely be slower than we wanted. After a little research we found a couple of trails near by and decided to go for a hike in the bluffs and see if we could find an great view or two.
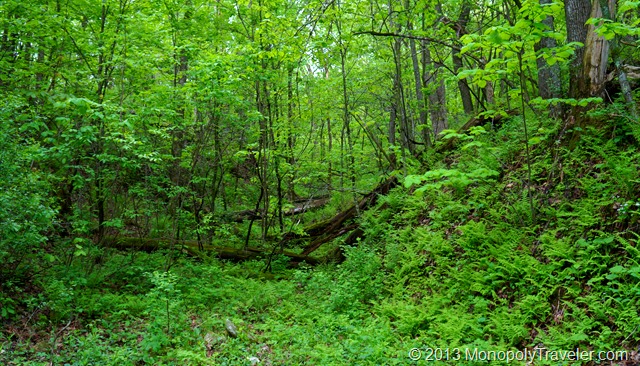
A Forest Valley

The forest was so lush and green with a number of beautiful wildflowers beginning to bloom.
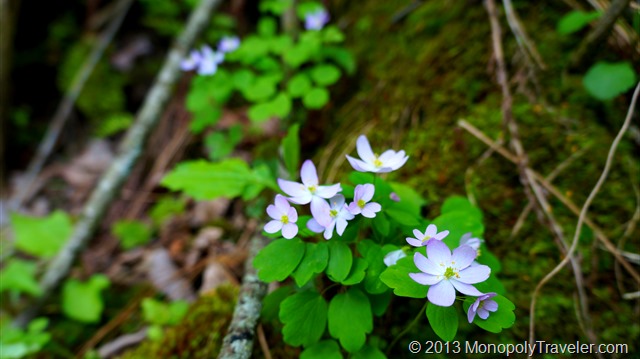
Wildflowers in Bloom

This was a 7 mile trail so a little longer hike than we’ve been on before but without any gear should be achievable. Expecting we should be able to hike at a 1.5 mph pace it was expected to take about 4-5 hours total to complete this trail including time to eat and enjoy the views while taking pictures. Past experience taught us to bring along food for a meal as well as a few snacks and water.
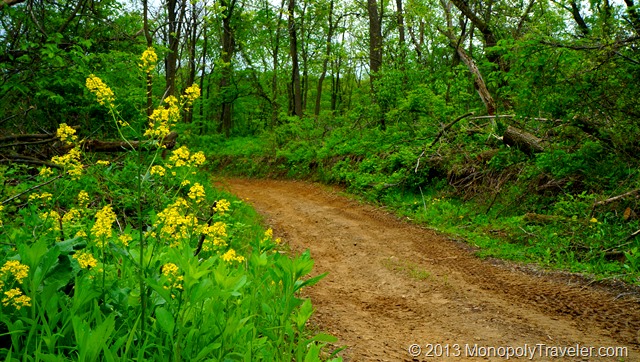
The ATV Trail

As we arrived at the park we found out that this is mostly an ATV trail and very few people actually hike it. As a result the trail was quite muddy in places and we needed to keep a watch for ATV’s as there were many using the trail that weekend. The first half of the trail was lacking much for vistas that we were hoping to see and included a couple of steep hills both up and down to climb. Fortunately the blooming wildflowers and seeing a scarlet tanager made this part of the trail worth the effort. This was the first time I’ve ever seen a scarlet tanager.
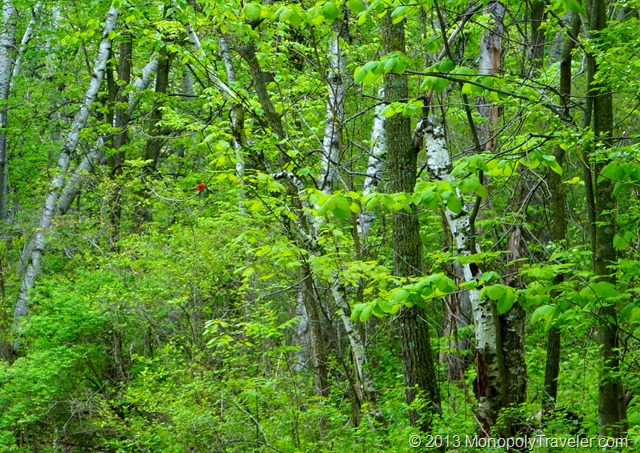
A Scarlet Tanager

Growing a little tired of hiking after walking up the bluff for a second time we were just hoping there were no more major hills to climb down and back up again. Shortly we came upon the first of a couple of locations that over look the Mississippi River and surrounding  bluffs. It was at this point we achieved our main goals of this hike which was to see this amazing part of the country from within the top of the bluffs. Here was a view from an area we had not witnessed before.

River Panorama

After taking in the views it was time to head down off the bluffs to the trailhead. If time permits a trip to the locally famous Nelson Cheese Factory for some great ice cream was in order. With that motivation the pace was increased to get back to our cars and head towards our camping location.
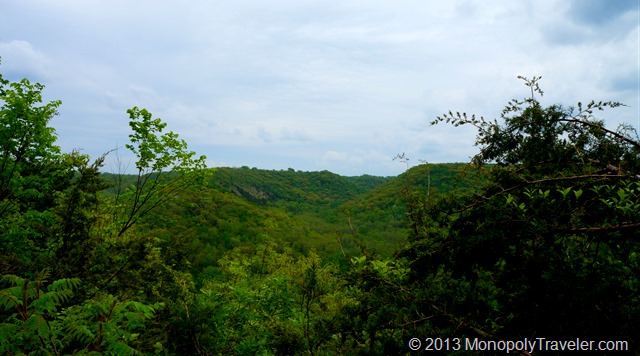
Nearby Bluffs

For those who are curious, we did make it in time to get our ice cream.

Experiences Gained: Longest hike yet in one day gaining confidence to tackle more difficult hikes on Isle Royale and the Rocky Mountains someday hopefully soon, Saw several scarlet tanagers which are a beautiful, vibrant red  bird that migrates to this area for the summer, and enjoyed views of the river and bluffs new to us.