Category Archives: Photos

Blue Mounds Top Pics

Recently I traveled to Southwestern Minnesota to Blue Mounds State Park with two goals for the weekend. First was to get out and enjoy an unseasonably warm weekend with daytime highs of 80 degrees. Second was to practice photography and enjoy taking pictures of whatever I thought would make a good picture with the Milky Way and sunsets/sunrises the top priorities. Since I was mostly interested in nature and wildlife I wanted someplace relatively quiet and this seemed to fit what I was looking for. Both of these goals were accomplished by camping in the park and spending most of my time there with a camera hiking around different areas of the park.

Throughout the weekend there I managed to take over 700 photographs. I wanted to narrow those down and see what I thought the top 1% of those pictures would be so here they are. My decisions would probably change depending on the day and how I’m viewing these pictures but as of this day these are my top 7 photographs from Blue Mounds State Park. All of these pictures are basically unedited other than what the camera does when it converts them to the jpeg format. Taking time to process many of these photographs may alter my top choices but I just wanted to judge my picture taking ability without the post processing.

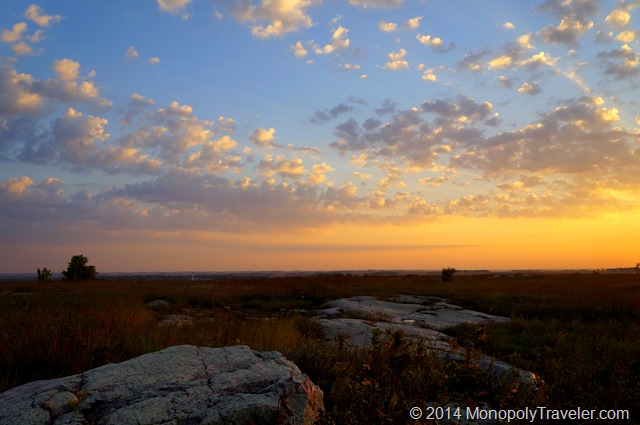
Sunset over the Blue Mounds

This is the sunset shortly after arriving at Blue Mounds State Park. I chose this picture of the sunset because of the arrangement of the rocks in the foreground combined with the clouds in the sky and colors throughout. The rocks and clouds direct you to the setting sun (which you can’t actually see) which is the focal point of the overall photograph.

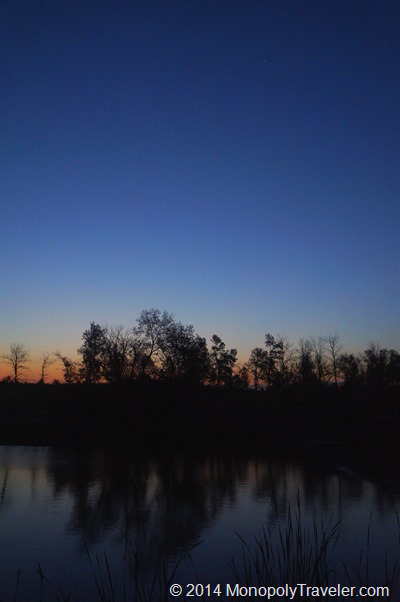
The Early Morning Calm

This was the scene near my campsite a few minutes after I woke up. The colors on the horizon transitioning to the darker night sky being reflected in the calm water below are why this photograph is included. There are a few cattails in the foreground barely visible adding to the overall depth of this photograph. It provides a sense of calm reflection to begin the day.

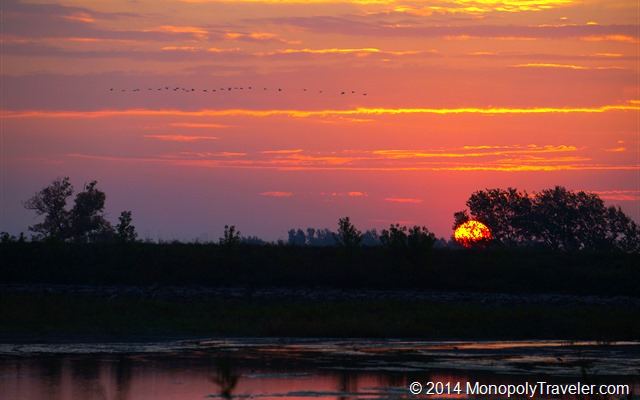
Opening Day

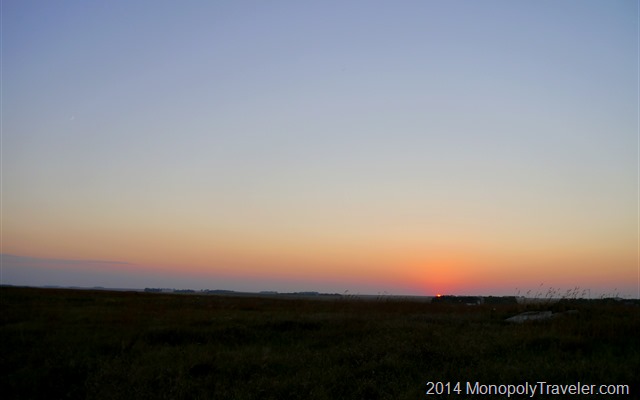
About a half an hour later this photograph was taken. Shortly before this I heard gun shots reminding me that the Minnesota duck opener had begun. I like the position of the rising sun and the colors in the sky being reflected in the water along with the ducks moving across the sky.

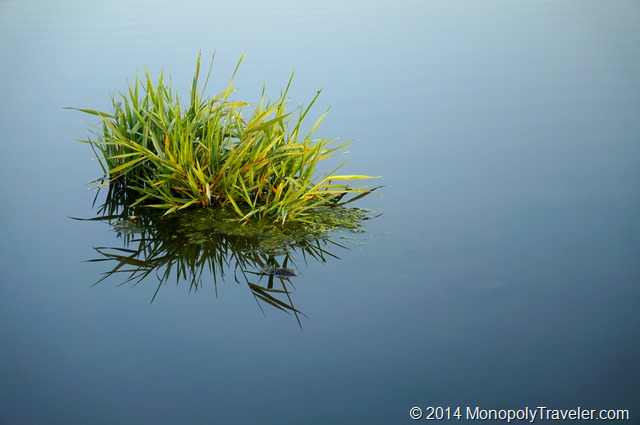
_DSC0797

Thirty minutes later I took this photograph. It was chosen because of its simplicity and contrast. Blue water surrounding this little patch of grass with dew drops on each tip. This photograph taught me that timing is really important for some subjects. Had I taken this picture later in the morning or during the afternoon the lighting would not have been good to give me this nice reflection in the water.

Mornings First Light

Minutes later I took this photograph because of the soft, warm glow from the early morning sun on this bright pink flower which was growing on the shore near the water. I debated on whether or not this should be included in the final seven photos but ultimately chose it because of the contrast between this flower and the background in addition to its arrangement within the picture with only the top portion of the flower in focus.

Prairie Breezes

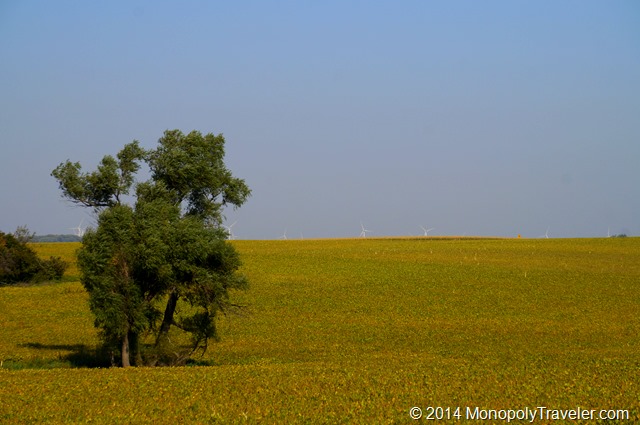
This was a mid-morning photograph that I liked because of the soft wave of the field beginning to change color ahead of harvesting with the tree softened in the picture from the wind accented by the wind turbines on the horizon. Can’t you just feel the prairie breeze?

The Milky Way

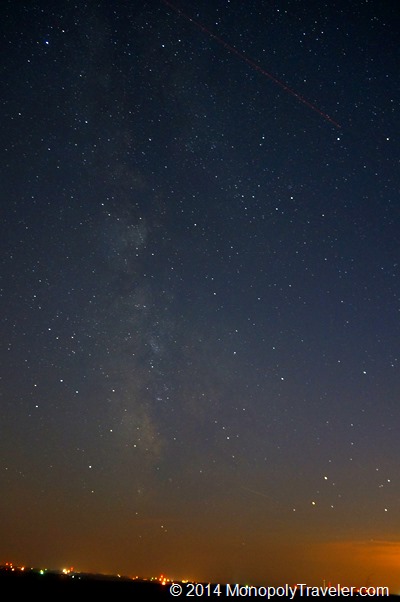
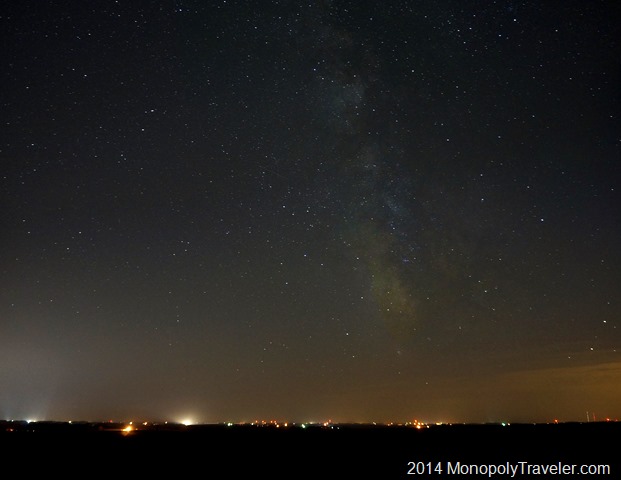
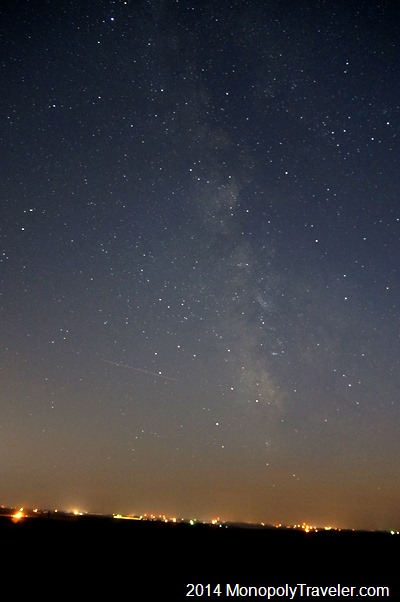
I just realized that six out of the seven top pics where taken on the same day. It was really a productive day that I must have been focused on what I was doing. Ending the day which began before dawn with photographing my main objective – the Milky Way. Even out in rural areas there is still plenty of light pollution making the night sky more challenging to photograph. Regardless I still enjoyed taking these pictures and like the results. There are pictures that show less light pollution but they are also less interesting to me. One of the things that amazed me when looking out at the Milky Way was how close to the horizon you can see it. I’ve always seen it high in the sky and never really noticed how much of the night sky it can cover. This picture is a good reminder to me of the Milky Way reaching for the horizon.

I’d like to read which of these are your favorite. Please leave me a comment and let me know.

Finding More Stars

A Prairie Sunset

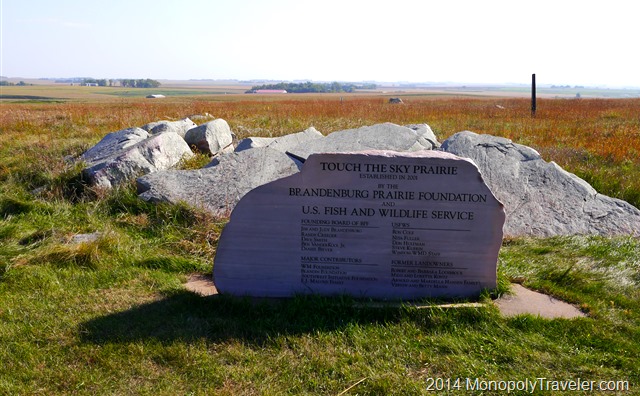
After exploring several miles of Blue Mounds State Park during the morning I wasn’t sure that I wanted to go out in search of the milky way again this night. A nice campfire seemed like a better idea on this gorgeous day and besides, how much different would it be from the same area. As the afternoon progressed there was a nearby national wildlife area close by that I wanted to check out while visiting this area. After checking out the cascading creek I stopped near the top of this Touch the Sky Prairie and gazed out at the horizon. This might actually produce better results as it was several miles west of the nearest town so the light pollution should be less.

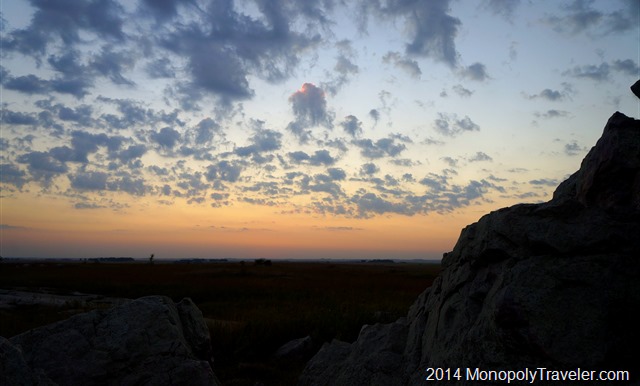
A Stone Monument to Touch The Sky Prairie

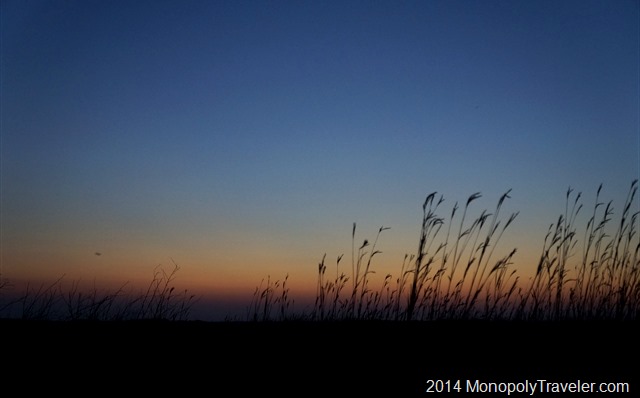
I decided to quickly return to my campsite to get some much needed nourishment before returning to the prairie and foregoing any campfire for the rest of the evening. A quick meal and then hurrying to catch another sunset before setting the cameras to stun. I mean setting them up to capture the night sky. This sunset wasn’t as spectacular but still provided a spiritual event that I was fortunate to witness. While waiting on the stars to shine once again I was working on a second camera that has provided some troubles recently to see if there was a good solution. It’s amazing how busy you can keep by running between two cameras photographing a nearby landscape. Especially when those two cameras are from different camera makers so trying to remember where each setting is kept for each one provided a nice brain teaser.

The Beautiful Twilight on a Praire

After a short time the stars began to poke through the evening sky challenging the cameras to capture them. This time there was definitely less light on the horizon so maybe this would be the spot to get the milky way added to my increasing collection of photographs. I began testing the camera to make sure the settings and focus where correct to get the best photographs I could and I was ready to begin another evening of astrophotography.

_DSC0979

Soon I could see the milky way over head beginning to shine. It definitely looked more brilliant than the night before providing much anticipation of what was yet to appear. As darkness grew so did my excitement at the photographs I appeared to be getting. I know that the screen on the camera does not always show the true look of each photo but taking some time to zoom in on the camera display I had a feeling that things were going well.

The Milky Way Once Again Overhead

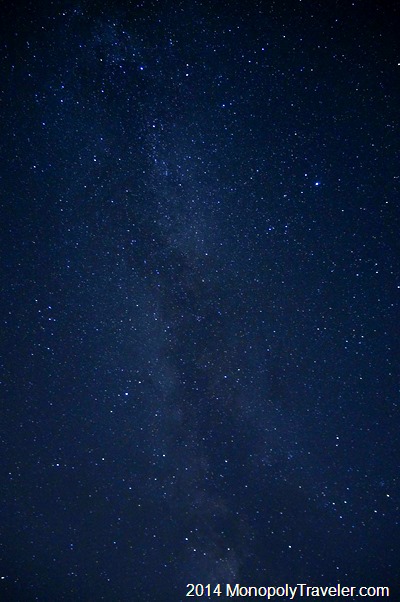
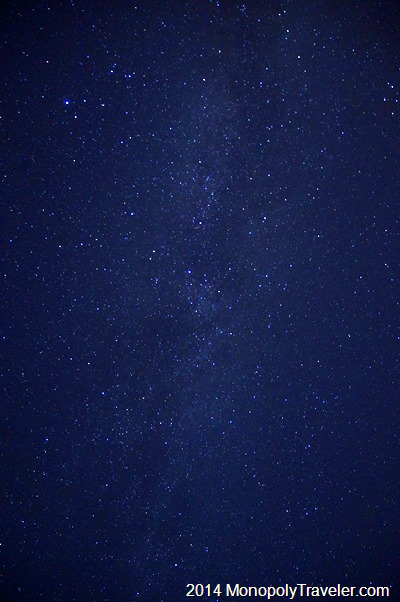
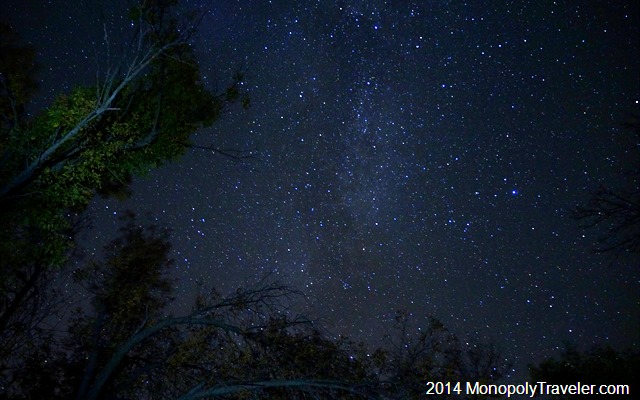
Eventually I could see the milky way stretching from one end of the sky to the other. I know I have seen the milky way many times in my life but I had never really looked at it and studied it to see it grace so much of the star filled sky. It was definitely worth skipping a fire to try another night of picture taking. I’m not sure what I enjoyed more – the setting sun or looking up at all these little lights scattered all around me. Finally I accomplished what I had set out to do on this weekend.

The Milky Way Almost Touching the Horizon

How did I find this spot you’re wondering? It took a little bit of research. First I used my Stargazer program to locate the milky way and find out if it was high enough in the northern US skies to get good photographs. After determining this is a great time to photograph it if you can find clear southern skies I started to look for good places to go with less light pollution using DarkSiteFinder.com. Northern Minnesota has some of least amount of light pollution providing for some dark skies so that is where I wanted to go however I was limited by time so distance was an issue. After looking for state parks to camp at I discovered all of the reservable camp sites were booked due to fall color seekers I re-thought where I wanted to go. Being around a lot of people was not my interest for the weekend. Solitude was my desire. Searching state parks I discovered Blue Mounds State Park had very few campsites reserved indicating fewer visitors giving me the quiet I was seeking along with relatively high ground for the possibility of unobstructed photos. Several hours were spent looking for the right place and a couple of stressful days trying to decide if this was what I wanted to do or not. In the end sometimes you just have to pack up and go for a surprise adventure. Sometimes it works out and sometimes it doesn’t.

The Milky Way in the Southern Sky

Looking for Stars


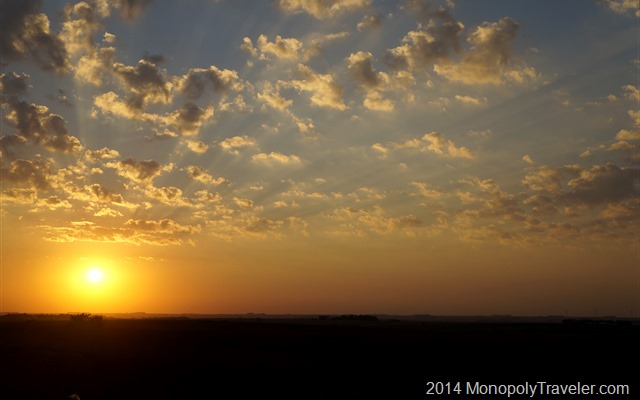
What an Amazing Sunset

The rest of my family went out of town for the weekend. So many things to do and a beautiful weekend to work on my list around the house. But that would be responsible and I know I would spend more time inside than I should and miss too much of this last weekend of summer-like weather (highs in the 80’s and sunny). Camping for the weekend seemed like the perfect way to spend a weekend by myself. I’ve really been itching to get some nice photos of the milky way and light pollution is a problem in many areas near me. After a little searching, I found a state park without the fall color seeking crowds and what appeared to be a perfect place to photograph the night sky as the land was higher than the surrounding area giving me miles of horizon towards the south, where the milky way touches the horizon, without much light pollution.

The Sun Has Set. Time to Wait for the Stars to Show.

Friday afternoon arrived and so did this last summery weather so I took off from work early and hurried home to pack. Soon after I was on the road for the almost 4 hour drive to Blue Mounds State Park anxious to see the setting sun from this location and look for the milky way to take over the night sky. I arrived at the park just in time to register for my campsite and get to higher ground to prepare for the sun and the stars. It didn’t’ take long for the sun to display it’s breathtaking colors as it neared the horizon prompting me to begin clicking away with the camera. In a very short time I had shot 70 pictures in an attempt to record this beautiful fading display. A few more photos of the twilight and it was time to eat a few snacks I carried with and prepare for my main subject.

The Stars are Starting to be Visible

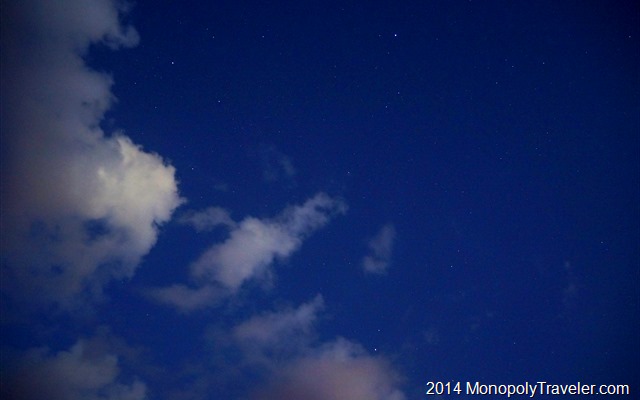
Finally the first stars of the night were visible as the sky continued to darken. I took a few pictures to check the settings on the camera and make sure they were correct for astrophotography. Thankfully I did because a couple of the settings needed adjustment with the most important one being focus. The camera was still on autofocus so I switched it to manual focus and adjusted it for infinity in order to photograph the stars as clearly as possible. After changing the settings I snapped a few more pictures and decided it was set up the way I wanted for the night.

More Stars are Beginning to Show Up

Now that I was ready and just waiting for the darkness to grow I began to realize I was all alone out in this park with all kinds of wildlife. Yes, this is where your mind begins to play with you and make you wonder if this is a good idea and jump at unfamiliar sounds looking for some wild animal to come lunging at you. Searching through the list of animals in this area that would be active at night I realized the most likely animals in this area were coyotes and they were very unlikely to cause any problems. Forcing myself to relax I continued to look upward as the sky light up with its nighttime show. Soon I was once again swinging my camera back and forth on the tripod capturing different scenes as they appeared all around me. Eventually the milky way made an appearance above me and I knew it would be a matter of time until it glowed closer to the horizon.

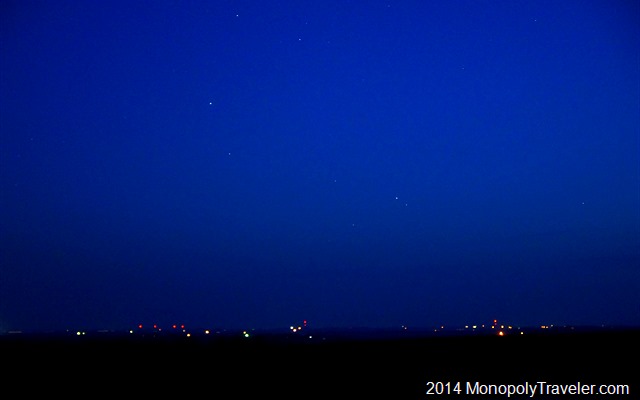
All This Way Only to Blocked by Light Pollution Again.

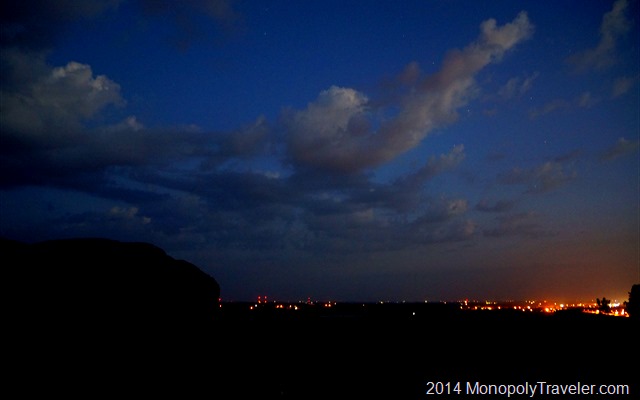
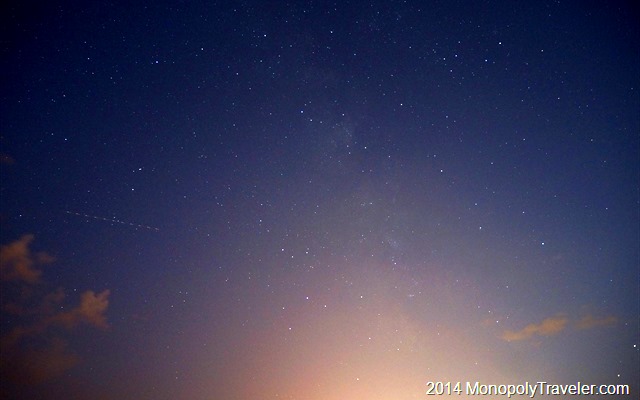
As the night grew darker I soon realized that the milky way would show up right were the nearby town was preventing me from getting the shots I was desperately trying to get. On top of that it was homecoming so the football stadium lights shone bright. All of that time and effort and this was the best picture I could get of near the horizon. Not very impressive however you can still see it. I knew this would be a possibility but hoped for the best. I took the pictures I could and began to vacate my star gazing rock as this part of the park was closing soon. A few photos of the milky way overhead and I was off. Besides it was getting to be a long day and I still needed to set up my tent.

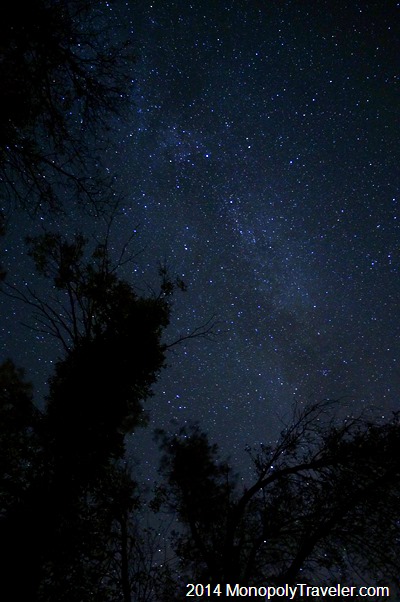
The Milky Way From Overhead

After setting up my tent and sleeping quarters I decided to catch a few photos from this location to cap off my evening of looking for stars. The trees overhead brought a different and interesting composition to all of these bright stars shining down.

_DSC0705

After a number of pictures I decided to play with my flashlight and began to highlight the trees and see how that looked against all of these stars. It was kind of interesting and something I would have played with more except I had finished my evening beverage and decided it was time to catch a few hours of sleep as I wanted to get up at dawn and photograph the prairie waking up.

Playing With Light Against the Night Sky

I did decide to try again the next night with a little better luck. To continue on click here…

Metering Modes

Metering modes are not something that I have ever really played around with as I keep this set to pattern on my cameras which is the same as matrix or evaluative in Peter’s article on metering modes. I decided to play around with this a little to see what differences I could find. The different modes are only available with the aperture priority, shutter priority, program, and manual settings. I set the camera in aperture priority and kept the ISO at 1600. The camera was not on a tripod so each shot is slightly different which could account for some of the variation in these pictures. That being noted, here’s a few pictures:

DSC02751_thumb6DSC02752_thumb9

DSC02753_thumb8

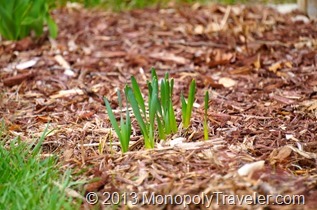
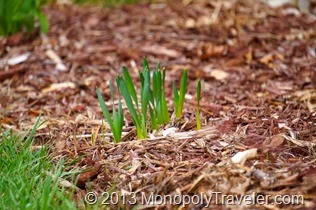
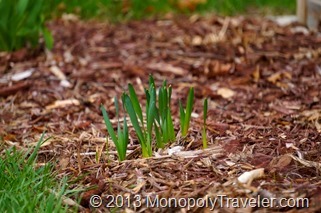
The top left photo used spot metering while the top right photo used center weighted average and the photo to the left used pattern. I don’t see much of a difference in any of these that even at larger sizes. These were taken during the morning on a sunny day at close range possibly negating any difference in modes. These are daffodils emerging from their winter nap.

DSC027587_thumb9DSC027591_thumb3

DSC027601_thumb3

These photos are in the same order as the previous group with spot metering top left, center weighted average top right, and pattern metering on the left. As in the daffodil group above, I don’t see a lot of difference between modes. Again these were taken outside in the sun so the difference may be less noticeable if there is any.


DSC027621_thumb6DSC027631_thumb4

DSC027611_thumb6

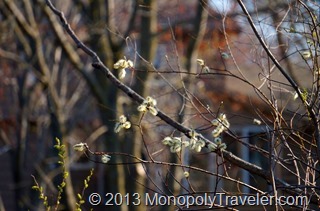
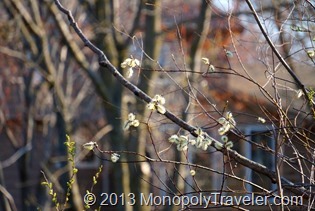
These photos show more of a difference in modes most likely because of the distance between the foreground and background. The order is the same with spot metering top left followed by center weighted top right and pattern to the left. Both the spot and center weighted are focused on the pussy willows while the pattern focuses on the trees in the background. The spot metered picture is a little darker than the others with greater focus on the details of the pussy willow branch. Center weighted obviously let in more light making the whole photo brighter. The pattern photo is the brightest of the three modes due to the whole picture being weighted for light levels by the camera.

I didn’t see a lot of differences by changing the metering modes for photos shot closer to the subject but once you step back and take pictures of a larger area the differences begin to show up. There are plenty of situations to try this in to find the differences. Peter Carey gives a list on his metering modes page for which modes to use in which situations. Time to go learn more about taking photos. Fortunately many of the issues from incorrect metering can also be taken care of if editing with the exception of focus or too high and too low of an exposure.

Taking Time-Lapse Photos

Getting Setup to Take the Photos

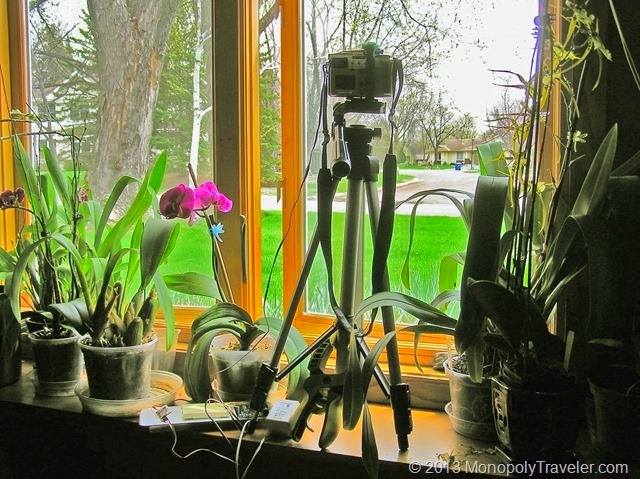
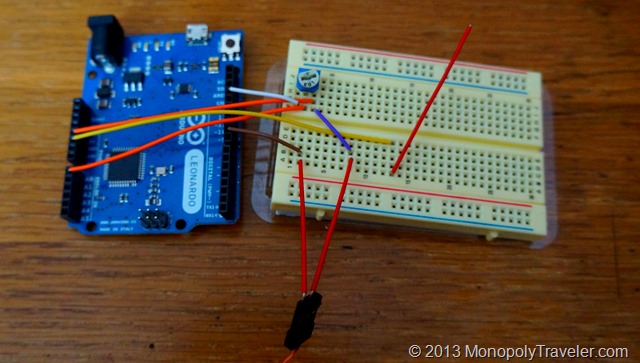
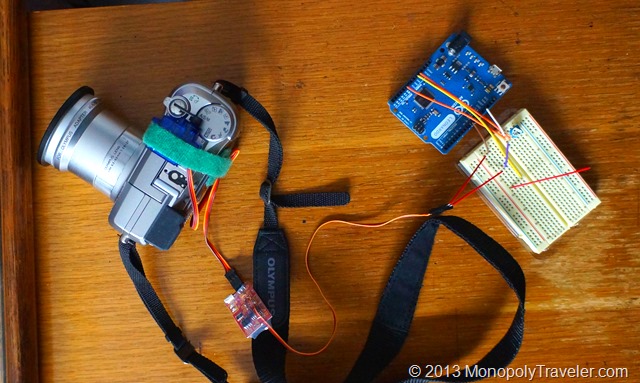
This is how I set everything up to shoot a time lapse video before the snow started falling for one of our April snow storms. I plugged in the Arduino which is connected to a prototype board with the potentiometer on it which is connected the the shutterbug pro which is connected to the servo on top of the camera set to take pictures. I found an AC adapter around the house ( I knew I saved these things for a reason) that puts out 5 volts DC current which is perfect to power all of the boards and the servo. As a bonus the plug fits perfectly into the port on the Arduino board. Should be all ready to go now.
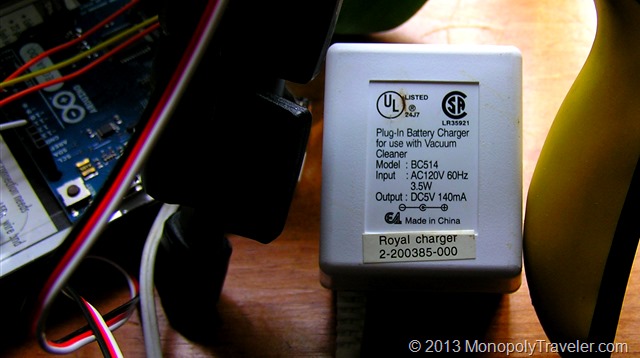
The AC Adapter

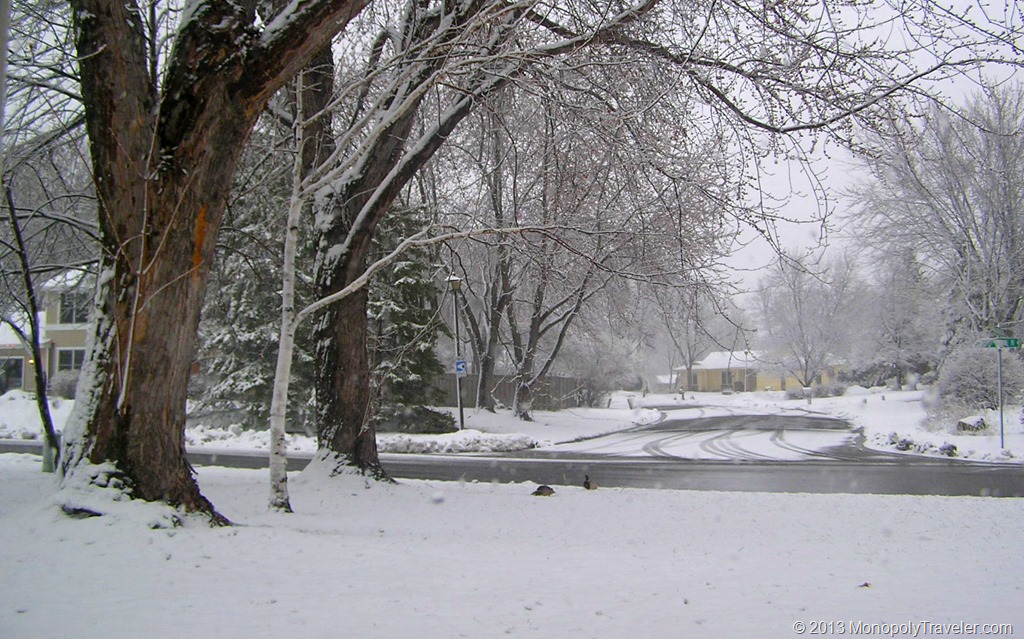
The next thing is to adjust the camera for taking the pictures. If it was left in automatic mode it would re-focus each time and set different shutter, aperture, and ISO for each shot. This takes time, energy, and changes how each picture looks so that there is a flicker appearance in a time-lapse. To help avoid this I set the camera on aperture priority with a setting of f2.8 so I could get as much light to the senor as possible because it was darker than normal with the heavy cloud cover and snowfall along with the day transitioning to night during the shooting time of over 8 hours. Also, the focus was set to manual and adjusted for further away. This saves power since the camera doesn’t have to focus for each picture and prevents it from transitioning the focus from the street to the glass in the window as night arrives since this all took place through the window. Here is the final video which lasts 24 seconds but taken over 8+ hours in time.
video
play-sharp-fill

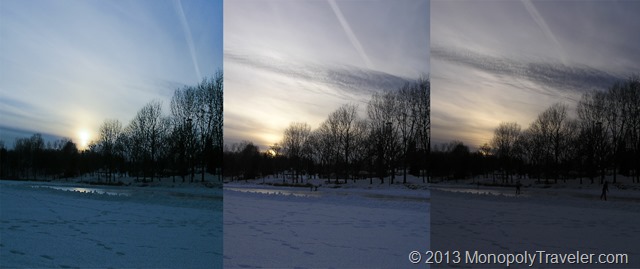
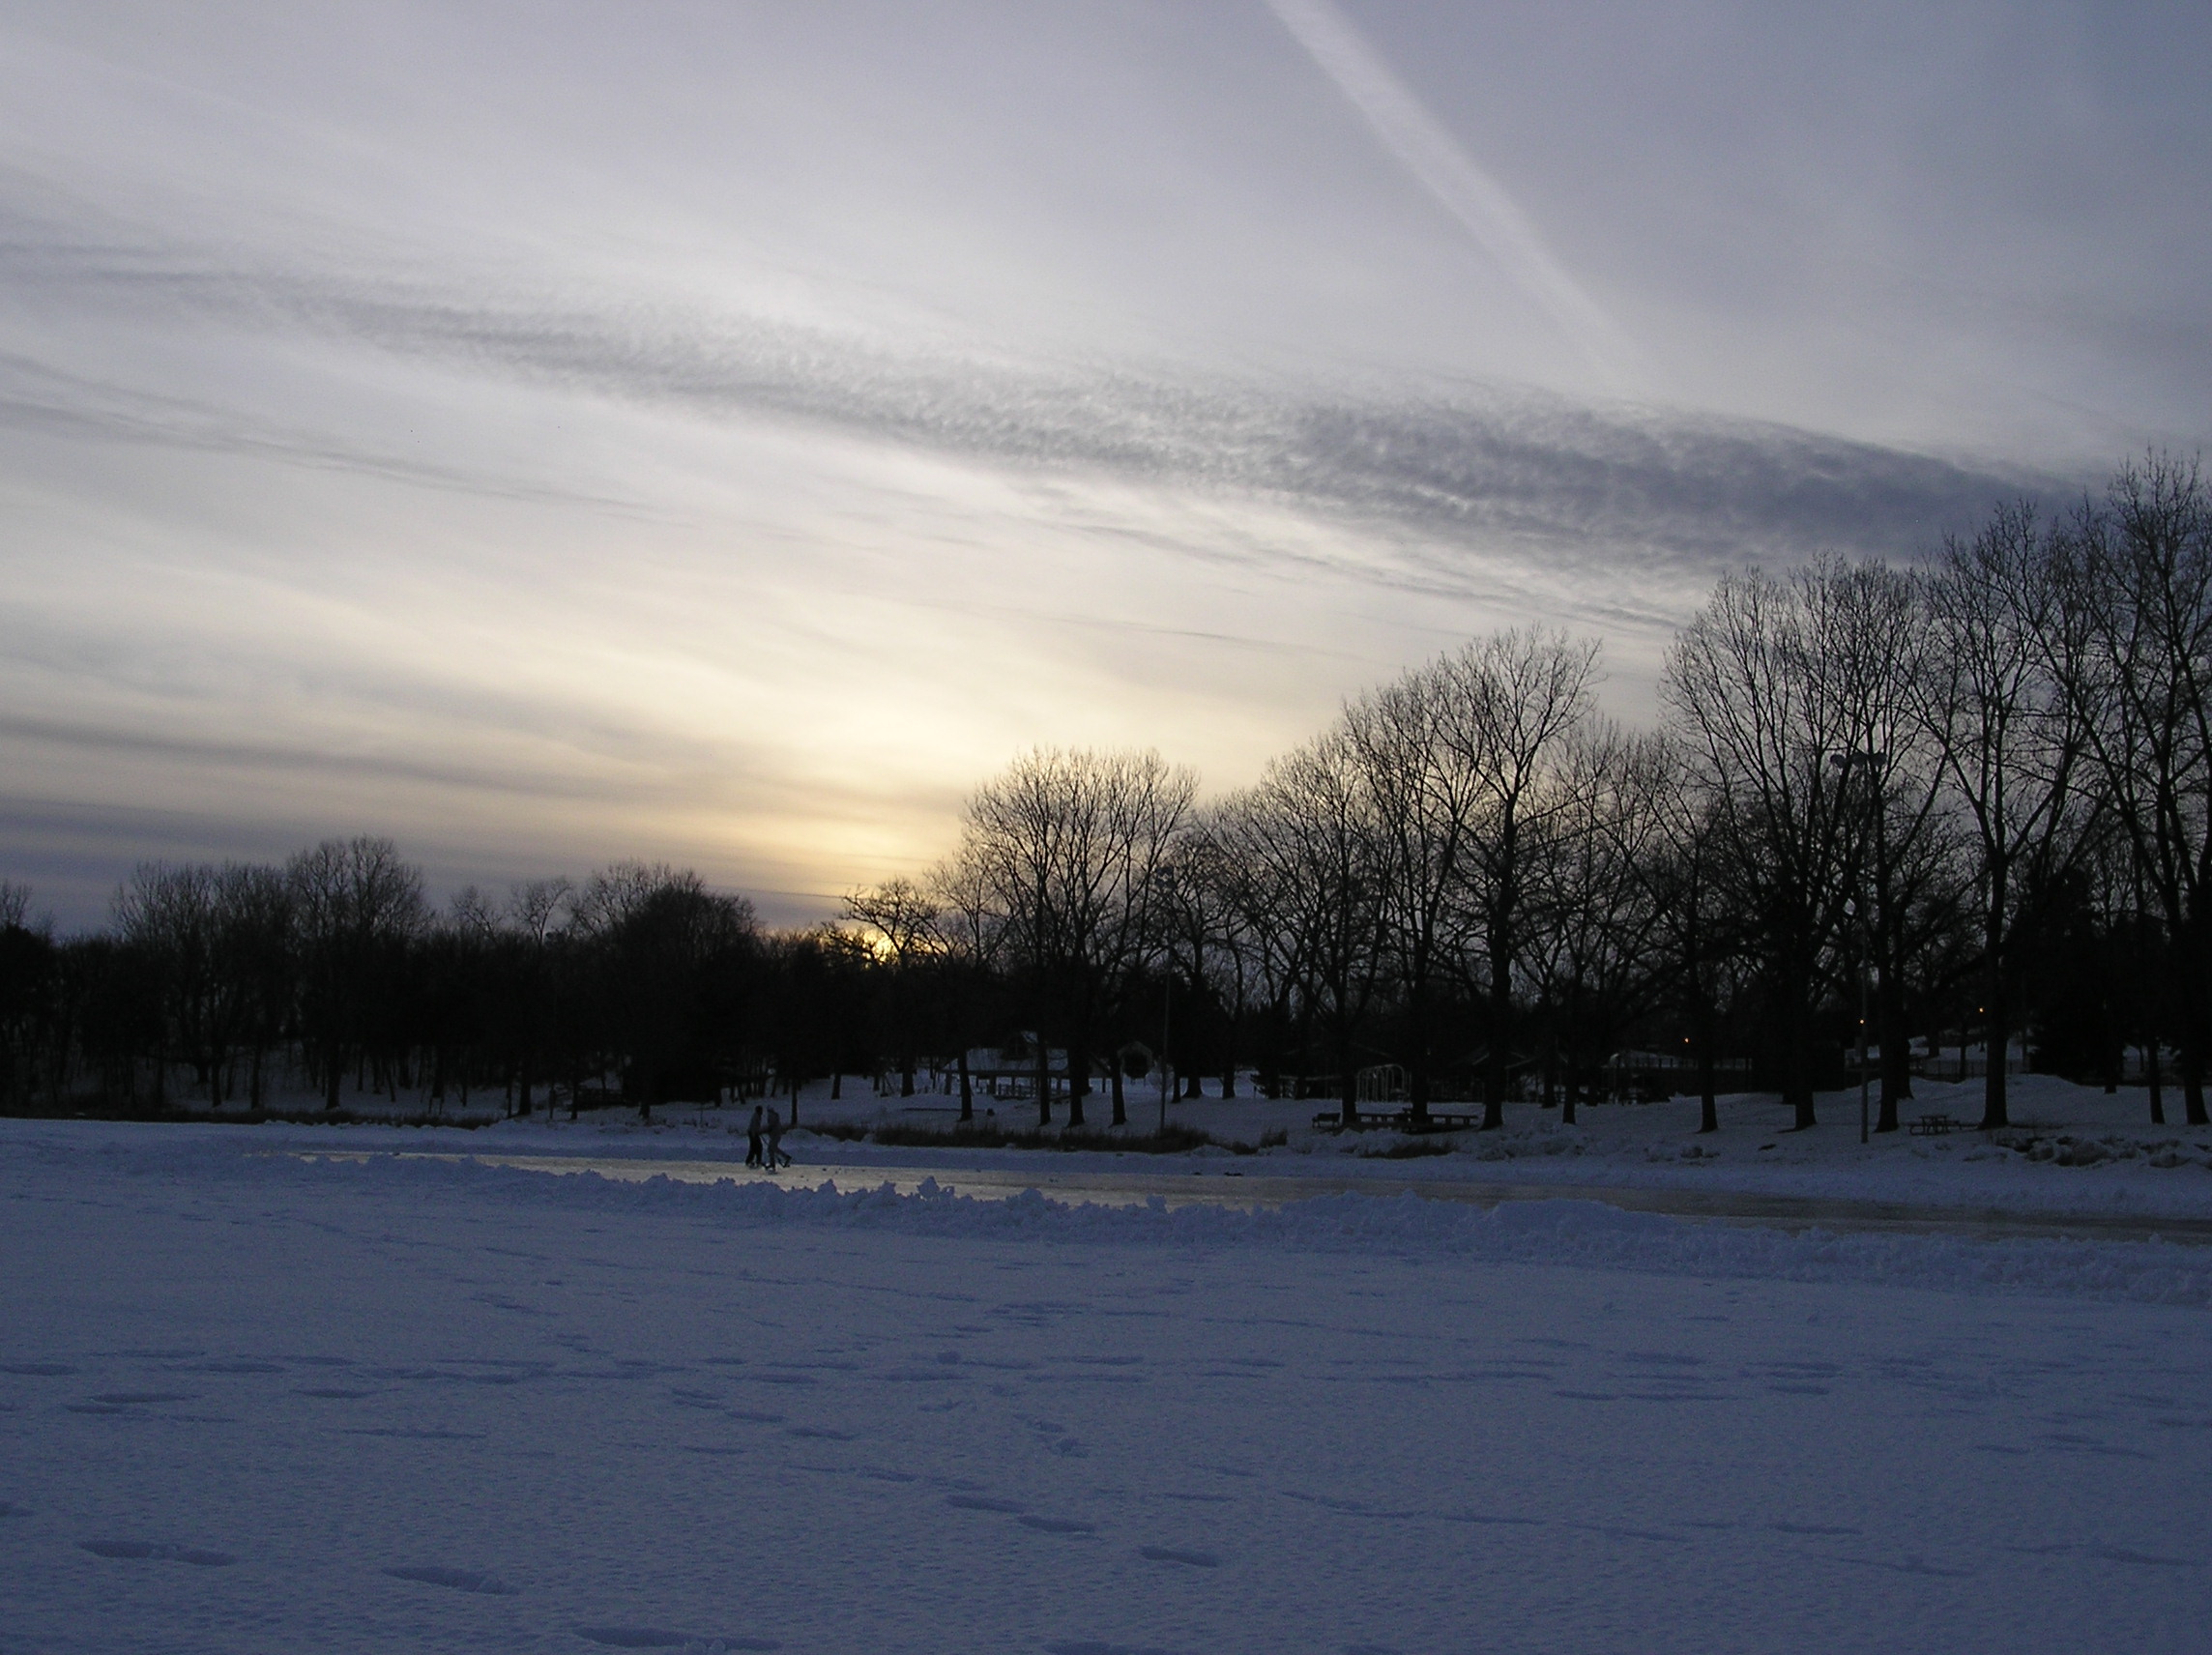
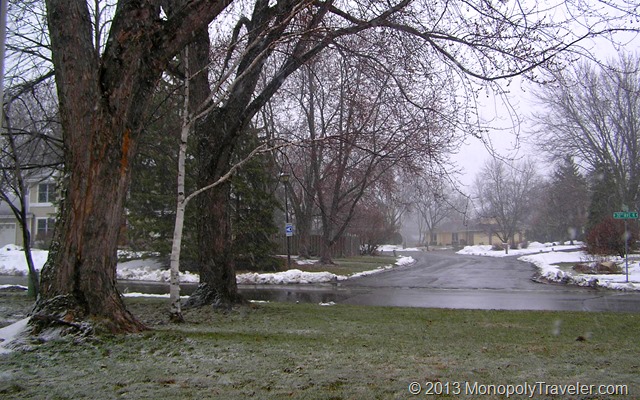
Some points of interest. First, at about 5 seconds, if you’re lucky, you can see a pair of ducks venture into different yards for a few frames. Second, I used 25 frames per second which means that for every second of video there are 25 pictures. Calculating that out you get 600 pictures taken over the 8+hours which is 1 picture every 50 seconds. I used 8 hours because that’s how long the batteries lasted in the camera. Below are the first and last photo so you can compare the difference in light throughout this project.

First Photo of Time Lapse


Last Photo of Time Lapse

More Time-lapse Fun

Arduino with Shutterbug and Servo

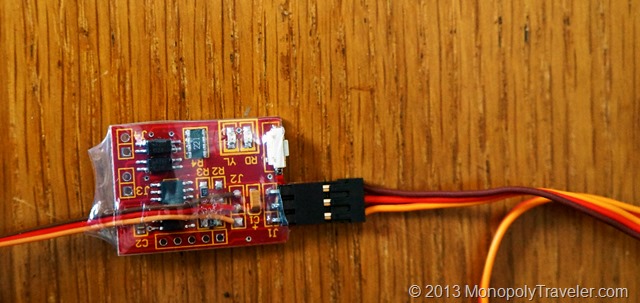
While spending way too much time researching mechanical intervalometers (the device that takes pictures at a set interval) I came across a video that shows a shutterbug pro pre-built circuit board used to control a servo which mechanically presses the shutter button on any camera. While looking through the parts list and how this all works I came across a problem. You need another device to set the servo positions so shutterbug can operate the servo to those precise positions. The company that sells the shutterbug pro also sells a signal emulator which can position the servo. Do I really want to use something once that really has no other uses?

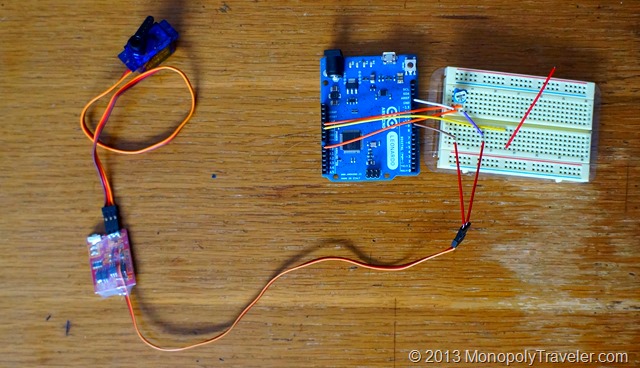
The Arduino with a Prototype Board

Of course not! Spending even more time I came across another video that shows how to use an Arduino micro computer and potentiometer to adjust the servo. In addition, once I’m done using it to set the servo positions for the shutterbug, I can learn simple programming to make the Arduino do other things if so desired. In addition I use the Arduino as a voltage regulator to the shutterbug. Are there a lot of terms here that are unfamiliar? I had that issue as well. I never really knew what a potentiometer was or how a servo works until researching it more just to do time lapse photography.

Everything Hooked up to the Camera

I do also want to try long exposures to capture star trails at some point which the shutterbug can do with some (suppose to be) simple programming. Although I have run into issues trying to re-program this board from time to time for different interval shooting and to change it to hold for long exposures. With enough messing around I do eventually get it to do what I want. Make sure everything is working well before the desired photography session begins. It has taken me up to 30 minutes to get the board and servo set up. In addition, it takes some tinkering to get the servo to consistently push the shutter button on the camera.

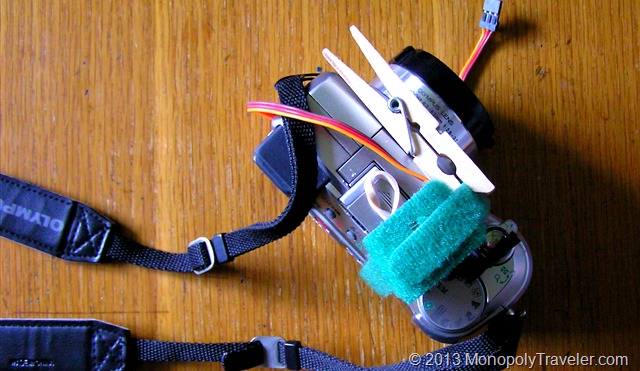
Some of the Tinkering

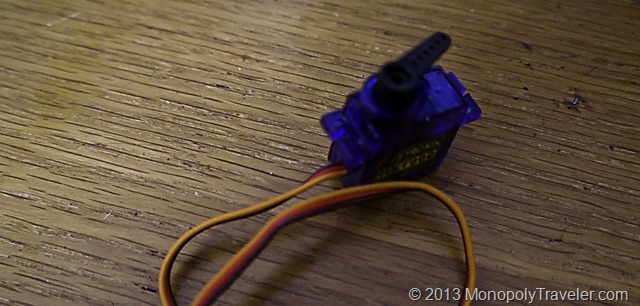
As you can see in the photo above I needed to add some extra equipment to make this work flawlessly. I have the servo attached to the camera with a velcro strap. Just this didn’t work well because I could not get it tight enough to actually push down the button on the camera. That’s where the close pin comes in. I use one or two to make the velcro tight enough to get the servo to press the button depending on how tight I get the velcro to start with. Also, I added a rubber band to the servo because it kept sliding around on top of the camera over time preventing it from taking photos after awhile. One last modification was the addition of electrical tape to the servo arm as it would scratch the button after a number of pictures.

Next up….. taking the actual pictures.

Time-lapse Photography

Ice Skating Time Lapse

Well, it’s been a few weeks since I’ve put together a post so what have I been doing? Other than taxes? Ya, that takes a little time, along with shredding documents that have accumulated over the past year that don’t need to be saved. I’ve been going through a few more properties on the photography experiment board such as Shutter Speed, Aperture, ISO, and Photography Jargon as well as reading a book or two on photography. The photography jargon helped explain a few terms for me so I can understand them better. A worth while post to read. I couldn’t think of anything to write about regarding these and I’ve already completed the experiment recommended by Peter Carey covering these topics so there haven’t been any post recently.

One thing I’ve been thinking about lately is how to take time lapse photos. Using my point and shoot camera which was recently fixed, you can see that post here…, I tried it out just using the remote that came with the camera taking a photo as soon as the camera was finished processing each shot. There ended up being over 300 pictures taken over 30 minutes which ended up providing a 10 second time-lapse video. That was fun but how can I make a 4-5 minute time-lapse video using this technique? Through some research I found the Tempus time-lapse remote to take pictures every few seconds. Problem solved, let’s order one.

video
play-sharp-fill

Wait a minute! That will work for my point and shoot but what about the new Sony Nex 3 which does not have remote functions. When I purchased this camera I didn’t think the remote was very important since up to this point I never used it on other cameras. What that ever a wrong assumption now that I have a camera capable of shooting good nighttime photos. Who knew? Well, Tempus also comes with a mechanical trigger but at a much higher cost. Could there be another way? Through more time and research I came across ways to build my own mechanical time-lapse trigger which was a little more adjustable and would work on all of my cameras with considerably less cost.

Shutterbug Pro Circuit Board

Finally I settled on the Shutterbug Pro which combined with a servo will take pictures at set time intervals. This is able to take extended photos in the bulb setting on dSLR cameras in order to capture light trails and star movement over time which I do want to try. Also, I get to build something and learn how to use things I’ve never used before. Learning is usually the best part for me and successfully using that knowledge. More new experiences!

Hobby Servo

I’ll put up another post explaining how I did this later. To see that post click here….

To see the video created from this project click here….

The Exposure Triangle

Smallest Aperture

Continuing on with my determination to learn how to better use my camera, I took on a few experiments recommended by Peter Carey in his post about Exposure. The first one involves changing Aperture from the lowest aperture to the highest. On my camera that involved 6 different photos. My apologies as the lighting is not great for these photos but the basic idea still comes through.

Middle Aperture

In the top photo the background is completed blurry and the shutter speed was the slowest. As I progressed through each level I noticed two things happening. First, the shutter speed decreased as I moved the aperture higher. This is in response to the camera letting in less light (larger aperture) requiring a longer exposure to capture the elements in the photo to offset the smaller opening. Second, more and more of the background came into focus. You can see the difference in focus from the top photo to the bottom one. This must be what they call depth of field and what is meant by losing depth of field as the aperture increases. Nice experiment Peter!

highest aperture

The next experiment was with ISO. Keep aperture steady and increase ISO and see what happens. This took 8 photos for me to run through the available ISO range on my camera ranging from 200 to 16,000.

Lowest ISO

In the top photo the clarity is pretty good as this photo is magnified somewhat. Again as the ISO is increased the shutter speed changed. The higher the ISO the faster the shutter opened and closed to compensate for the sensitivity to light as affected by the changing ISO. As I moved to the middle of the ISO range you can see the graininess appear more in the picture below.
Middle ISO

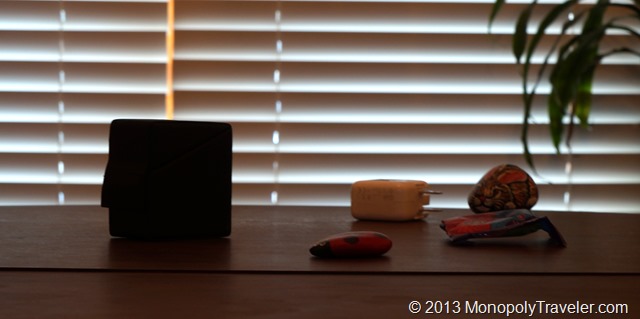
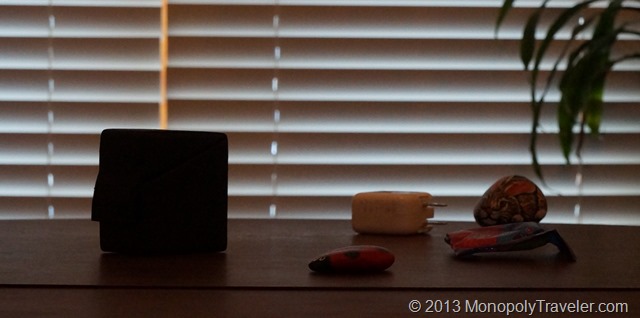
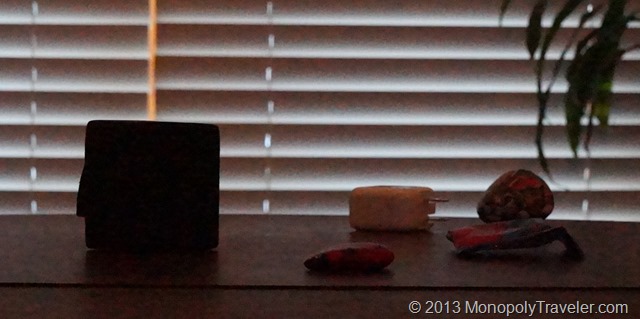
Moving to the lower picture the graininess is really noticeable, especially on the white and black objects. Before understanding how the exposure, aperture, and ISO work together better, I used the exposure setting on my camera to change the picture not realizing that all that was doing was changing one or more of these settings. I thought it was a separate setting altogether. I’m gaining a clearer idea of how each of these can be used to change the look of a photo. A few thousand more photos changing the exposure settings and I should start to get a feel for which to adjust in different situations.
DSC01911