All posts by Troy

Metering Modes

Metering modes are not something that I have ever really played around with as I keep this set to pattern on my cameras which is the same as matrix or evaluative in Peter’s article on metering modes. I decided to play around with this a little to see what differences I could find. The different modes are only available with the aperture priority, shutter priority, program, and manual settings. I set the camera in aperture priority and kept the ISO at 1600. The camera was not on a tripod so each shot is slightly different which could account for some of the variation in these pictures. That being noted, here’s a few pictures:

DSC02751_thumb6DSC02752_thumb9

DSC02753_thumb8

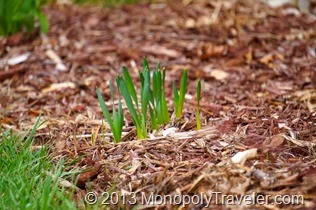
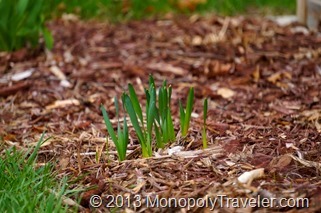
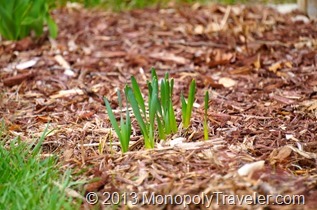
The top left photo used spot metering while the top right photo used center weighted average and the photo to the left used pattern. I don’t see much of a difference in any of these that even at larger sizes. These were taken during the morning on a sunny day at close range possibly negating any difference in modes. These are daffodils emerging from their winter nap.

DSC027587_thumb9DSC027591_thumb3

DSC027601_thumb3

These photos are in the same order as the previous group with spot metering top left, center weighted average top right, and pattern metering on the left. As in the daffodil group above, I don’t see a lot of difference between modes. Again these were taken outside in the sun so the difference may be less noticeable if there is any.


DSC027621_thumb6DSC027631_thumb4

DSC027611_thumb6

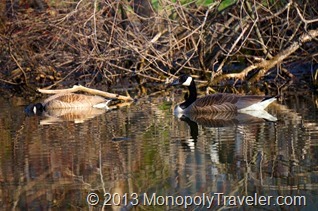
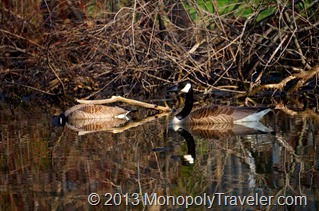
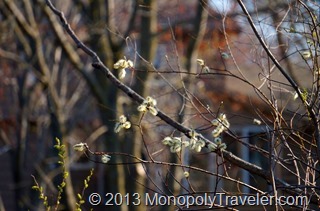
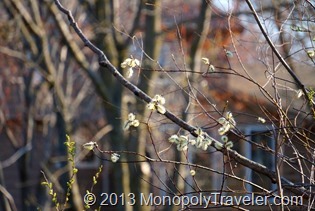
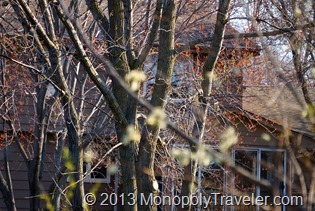
These photos show more of a difference in modes most likely because of the distance between the foreground and background. The order is the same with spot metering top left followed by center weighted top right and pattern to the left. Both the spot and center weighted are focused on the pussy willows while the pattern focuses on the trees in the background. The spot metered picture is a little darker than the others with greater focus on the details of the pussy willow branch. Center weighted obviously let in more light making the whole photo brighter. The pattern photo is the brightest of the three modes due to the whole picture being weighted for light levels by the camera.

I didn’t see a lot of differences by changing the metering modes for photos shot closer to the subject but once you step back and take pictures of a larger area the differences begin to show up. There are plenty of situations to try this in to find the differences. Peter Carey gives a list on his metering modes page for which modes to use in which situations. Time to go learn more about taking photos. Fortunately many of the issues from incorrect metering can also be taken care of if editing with the exception of focus or too high and too low of an exposure.

Taking Time-Lapse Photos

Getting Setup to Take the Photos

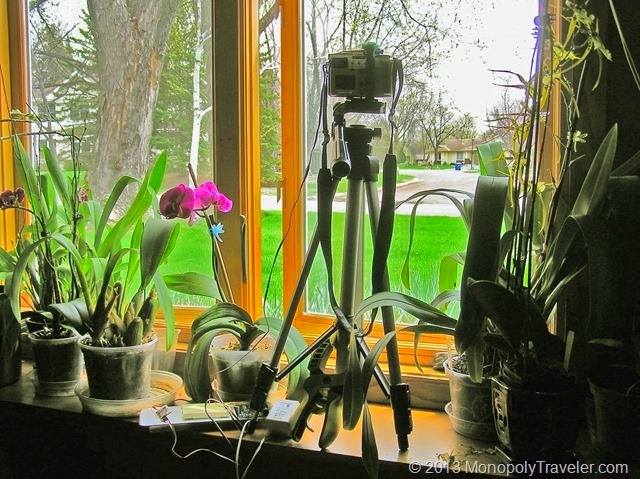
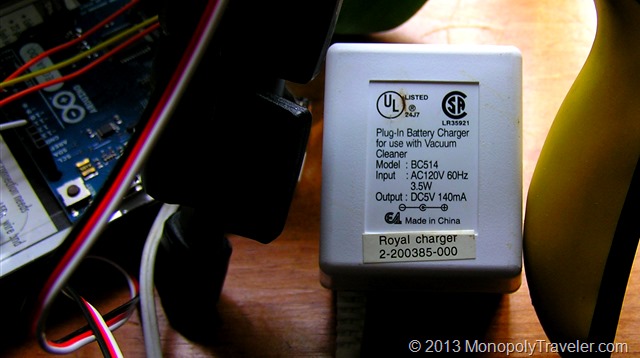
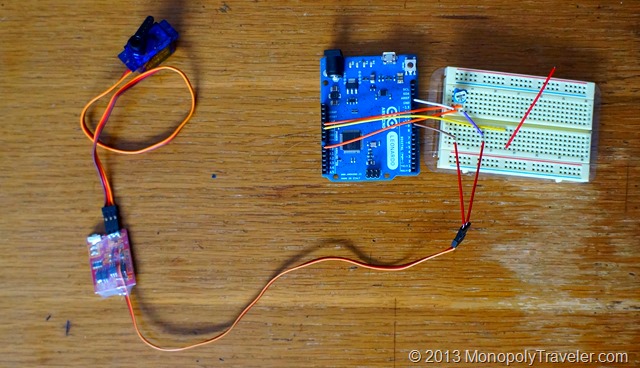
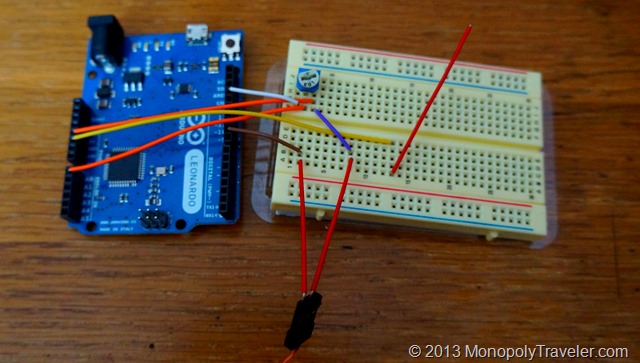
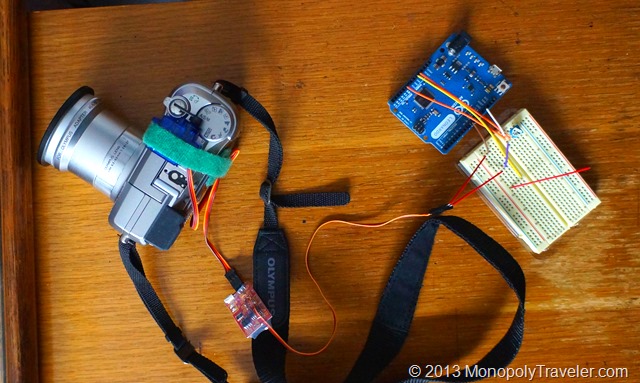
This is how I set everything up to shoot a time lapse video before the snow started falling for one of our April snow storms. I plugged in the Arduino which is connected to a prototype board with the potentiometer on it which is connected the the shutterbug pro which is connected to the servo on top of the camera set to take pictures. I found an AC adapter around the house ( I knew I saved these things for a reason) that puts out 5 volts DC current which is perfect to power all of the boards and the servo. As a bonus the plug fits perfectly into the port on the Arduino board. Should be all ready to go now.

The AC Adapter

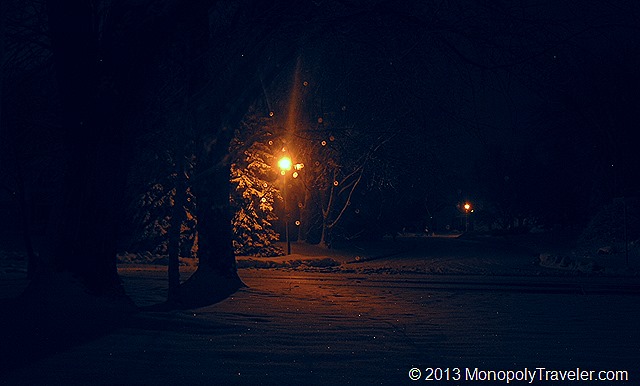
The next thing is to adjust the camera for taking the pictures. If it was left in automatic mode it would re-focus each time and set different shutter, aperture, and ISO for each shot. This takes time, energy, and changes how each picture looks so that there is a flicker appearance in a time-lapse. To help avoid this I set the camera on aperture priority with a setting of f2.8 so I could get as much light to the senor as possible because it was darker than normal with the heavy cloud cover and snowfall along with the day transitioning to night during the shooting time of over 8 hours. Also, the focus was set to manual and adjusted for further away. This saves power since the camera doesn’t have to focus for each picture and prevents it from transitioning the focus from the street to the glass in the window as night arrives since this all took place through the window. Here is the final video which lasts 24 seconds but taken over 8+ hours in time.

video
play-sharp-fill

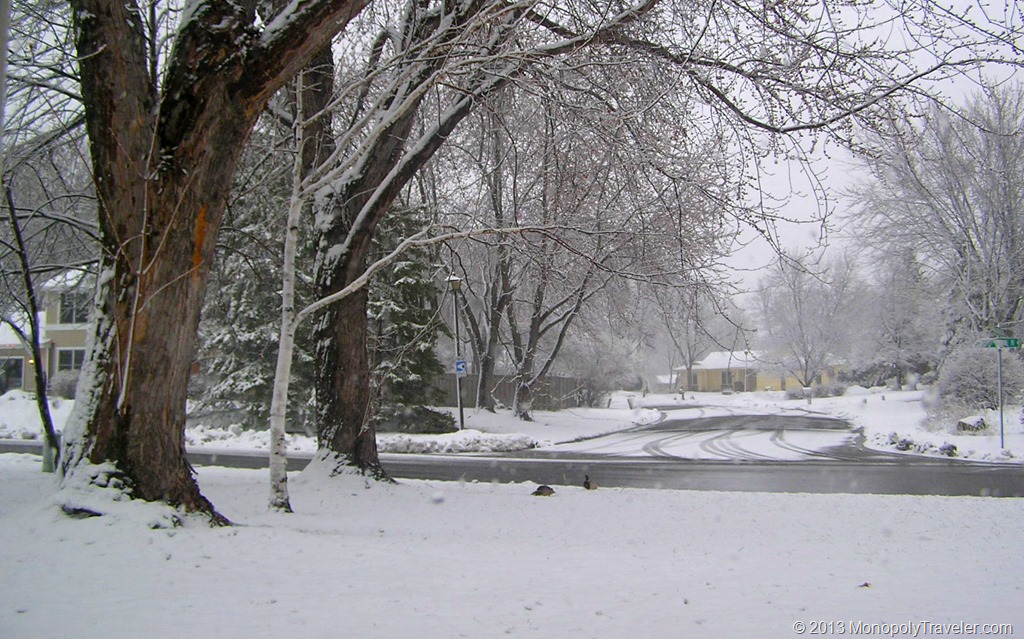
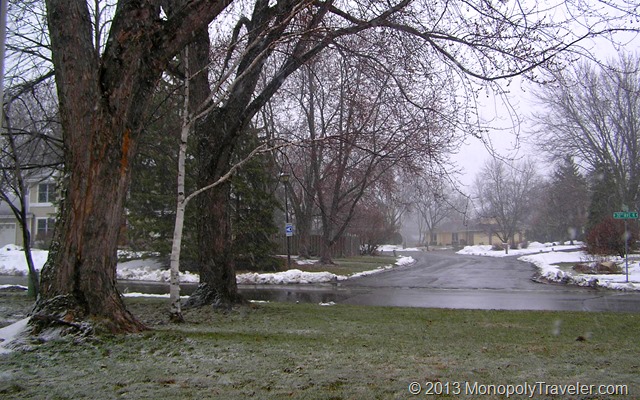
Some points of interest. First, at about 5 seconds, if you’re lucky, you can see a pair of ducks venture into different yards for a few frames. Second, I used 25 frames per second which means that for every second of video there are 25 pictures. Calculating that out you get 600 pictures taken over the 8+hours which is 1 picture every 50 seconds. I used 8 hours because that’s how long the batteries lasted in the camera. Below are the first and last photo so you can compare the difference in light throughout this project.

First Photo of Time Lapse


Last Photo of Time Lapse

More Time-lapse Fun

Arduino with Shutterbug and Servo

While spending way too much time researching mechanical intervalometers (the device that takes pictures at a set interval) I came across a video that shows a shutterbug pro pre-built circuit board used to control a servo which mechanically presses the shutter button on any camera. While looking through the parts list and how this all works I came across a problem. You need another device to set the servo positions so shutterbug can operate the servo to those precise positions. The company that sells the shutterbug pro also sells a signal emulator which can position the servo. Do I really want to use something once that really has no other uses?

The Arduino with a Prototype Board

Of course not! Spending even more time I came across another video that shows how to use an Arduino micro computer and potentiometer to adjust the servo. In addition, once I’m done using it to set the servo positions for the shutterbug, I can learn simple programming to make the Arduino do other things if so desired. In addition I use the Arduino as a voltage regulator to the shutterbug. Are there a lot of terms here that are unfamiliar? I had that issue as well. I never really knew what a potentiometer was or how a servo works until researching it more just to do time lapse photography.

Everything Hooked up to the Camera

I do also want to try long exposures to capture star trails at some point which the shutterbug can do with some (suppose to be) simple programming. Although I have run into issues trying to re-program this board from time to time for different interval shooting and to change it to hold for long exposures. With enough messing around I do eventually get it to do what I want. Make sure everything is working well before the desired photography session begins. It has taken me up to 30 minutes to get the board and servo set up. In addition, it takes some tinkering to get the servo to consistently push the shutter button on the camera.

Some of the Tinkering

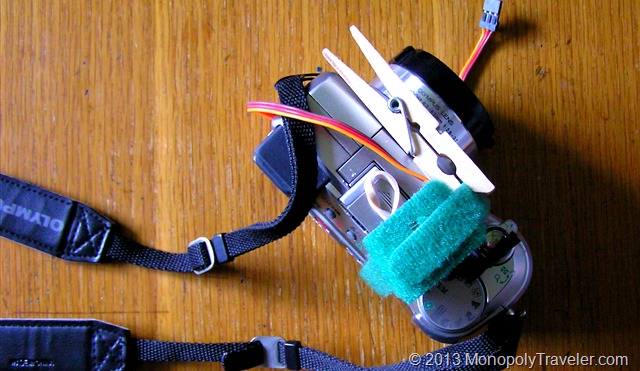
As you can see in the photo above I needed to add some extra equipment to make this work flawlessly. I have the servo attached to the camera with a velcro strap. Just this didn’t work well because I could not get it tight enough to actually push down the button on the camera. That’s where the close pin comes in. I use one or two to make the velcro tight enough to get the servo to press the button depending on how tight I get the velcro to start with. Also, I added a rubber band to the servo because it kept sliding around on top of the camera over time preventing it from taking photos after awhile. One last modification was the addition of electrical tape to the servo arm as it would scratch the button after a number of pictures.

Next up….. taking the actual pictures.

The Winter Blues

More Snow ?!

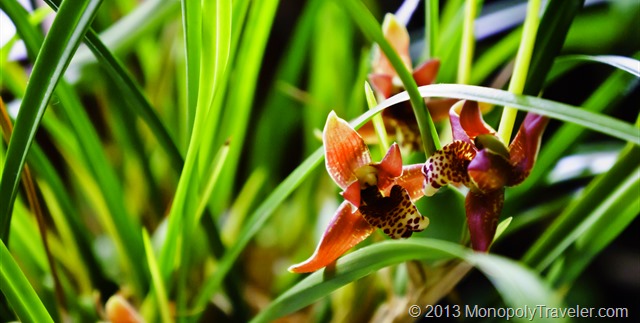
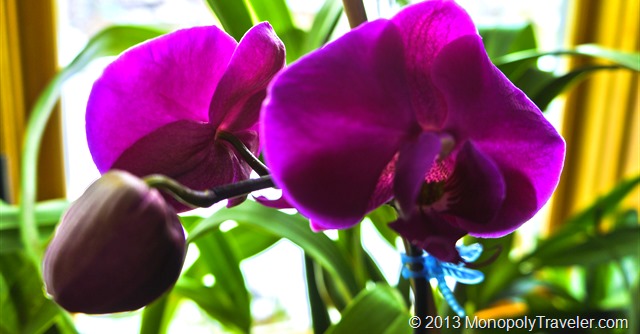
Well, for some of us it seems winter just does not want to leave. Usually by now we can start to see life beginning to return outside. As I write this the snow is falling once again. What can be done to avoid the winter depression that so many are experiencing right now? For me it’s enjoy the orchids that are putting on a wonderful display.

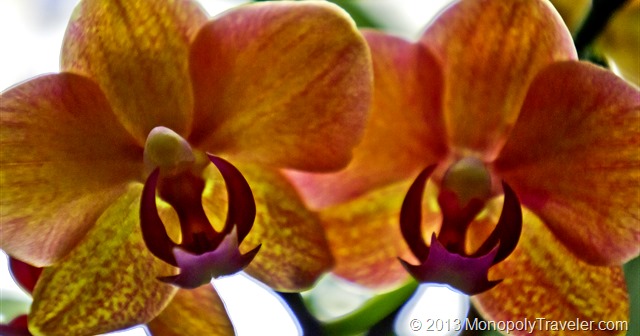
Maxilleria Orchid

Personally, I’m sick of wearing winter clothes – especially jackets. Shorts and T-shirts are my preference. At least while at home the orchids are showing their spring blooms. Early in the winter they didn’t look very good but thankfully pulled out of it and starting growing again. I continue to learn about different orchids and their care requirements in my house and they are rewarding the efforts now.

White Knight

I’m still trying to figure out how to get the lady slipper orchids and phragmipedium orchids to bloom. There are some that have never bloomed as they were purchased as seedlings so I don’t know what they look like. Guess I’ll have to concentrate harder on these.

Purple Phalaenopsis

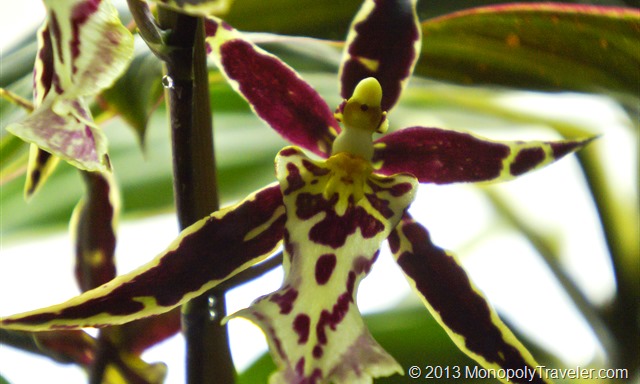
For now, enjoy some pictures of these beautiful orchids.

Phalaenopsis

Time-lapse Photography

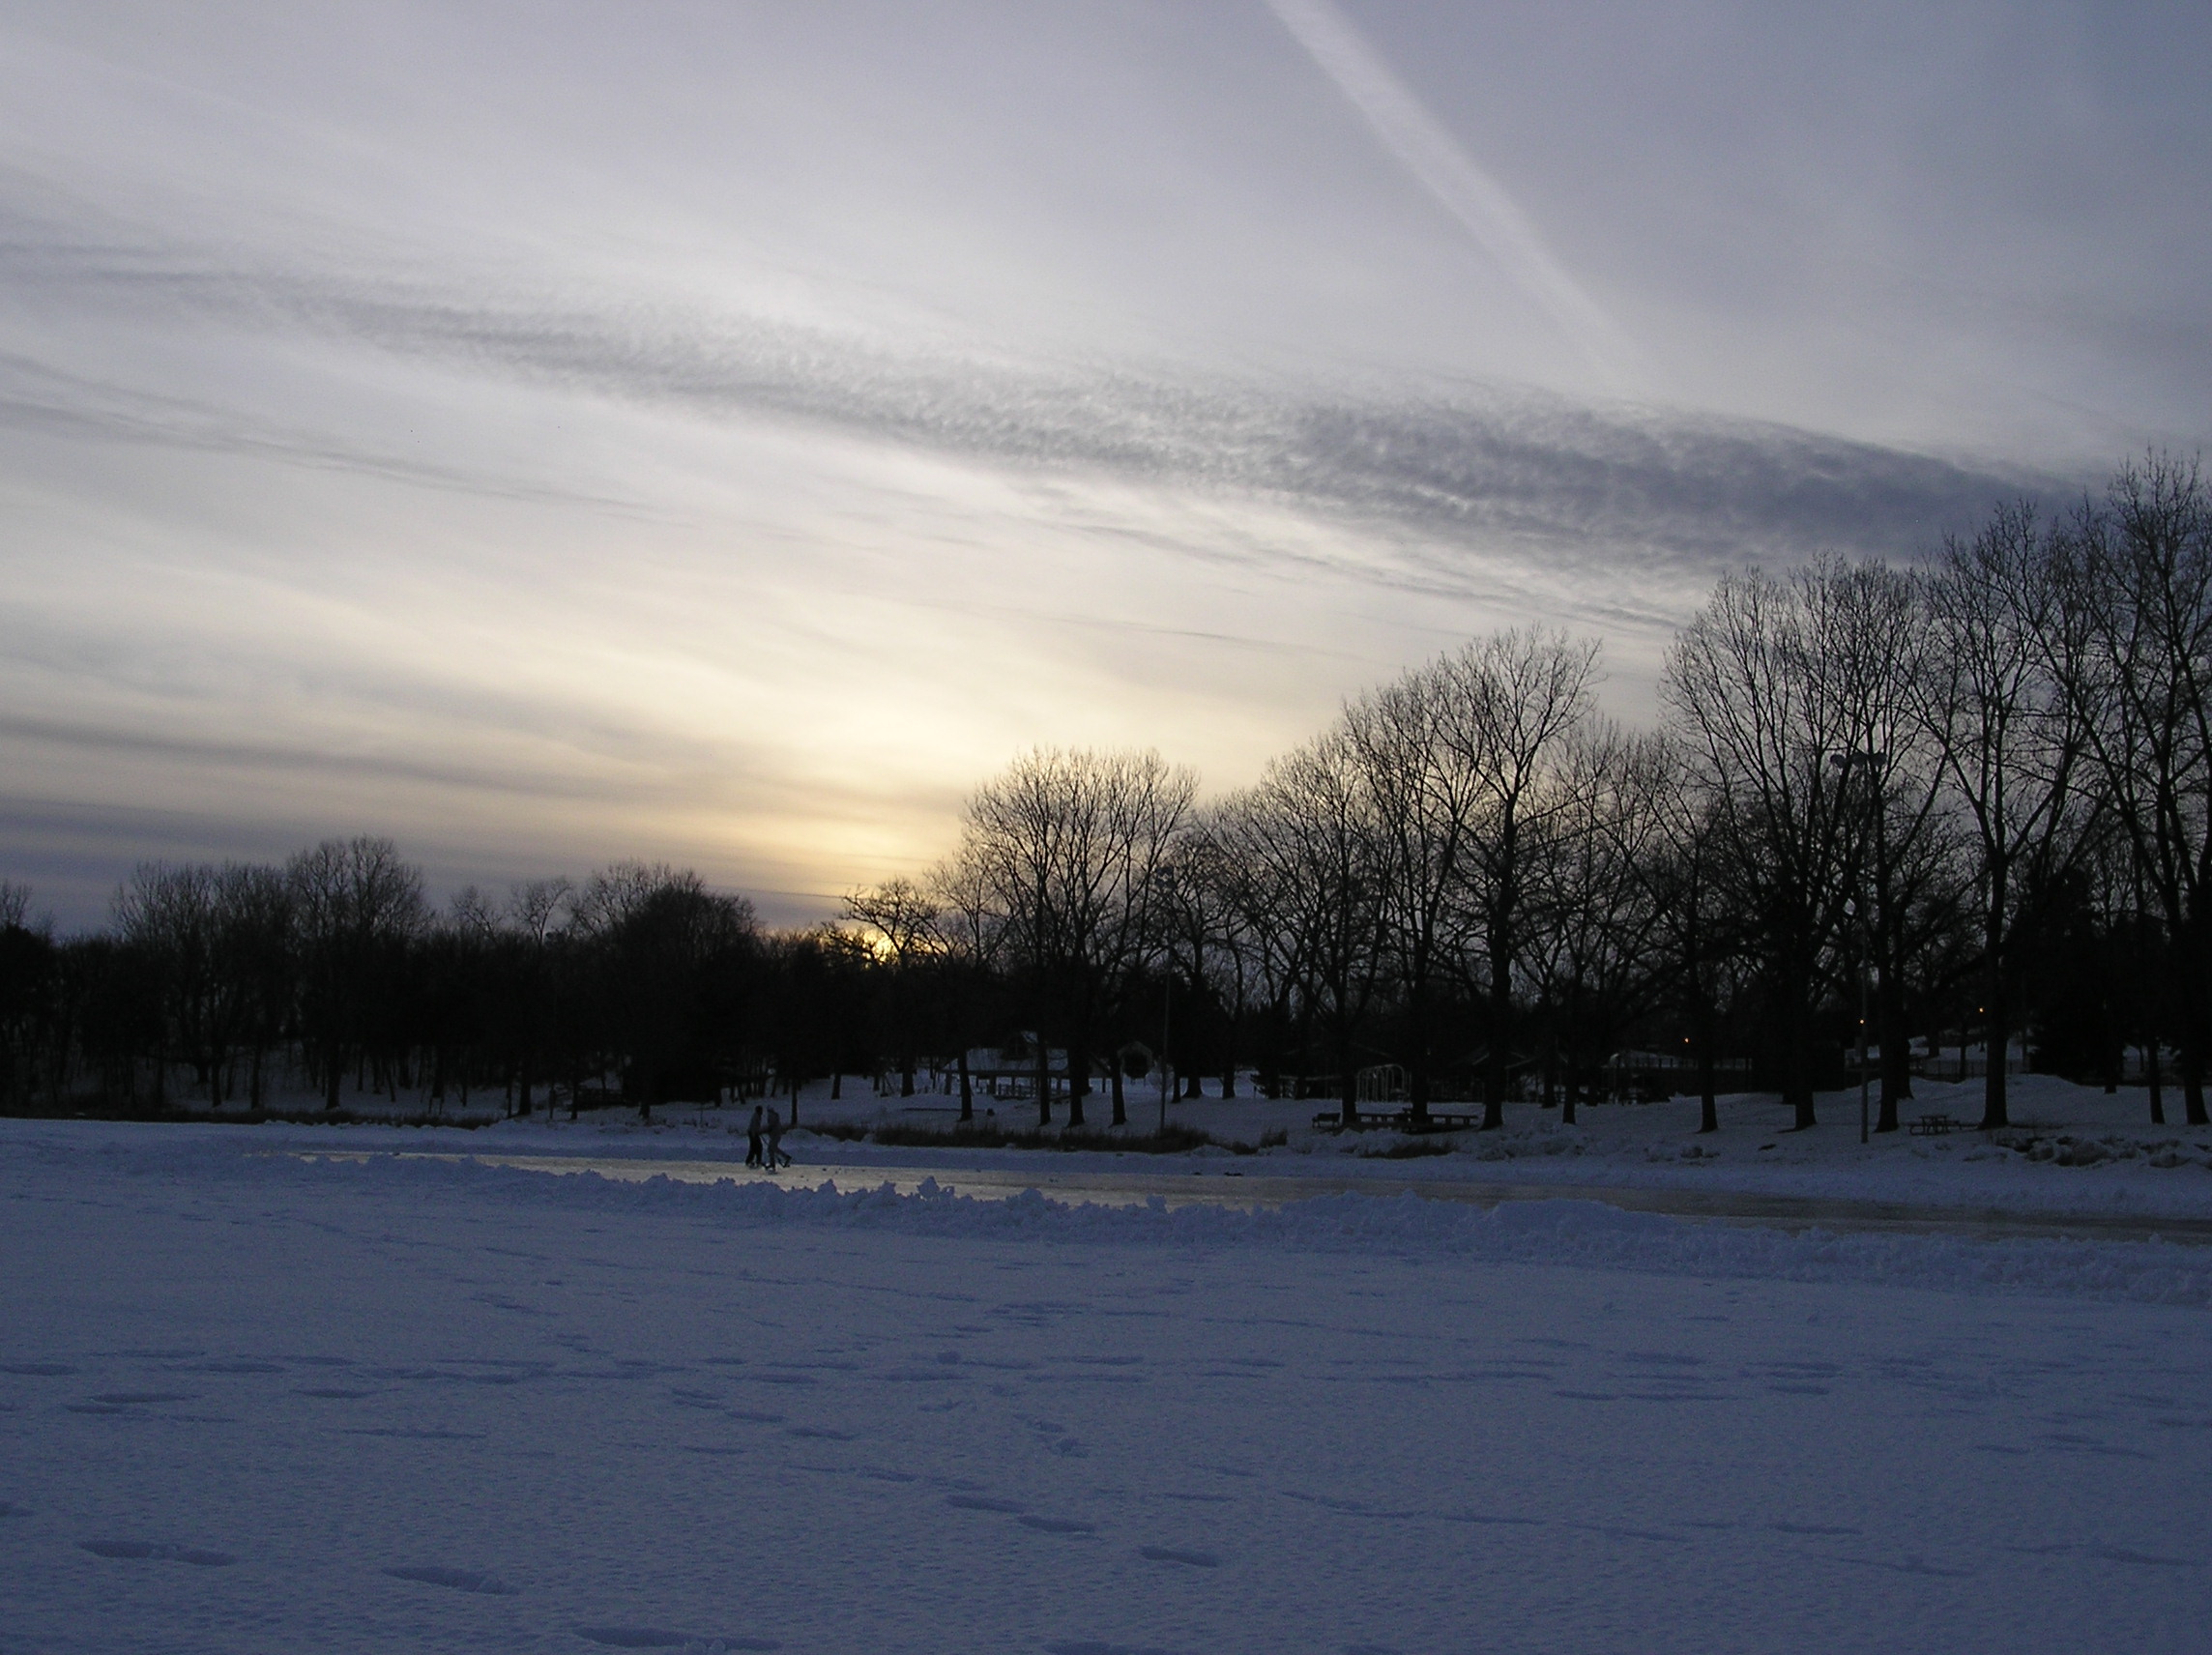
Ice Skating Time Lapse

Well, it’s been a few weeks since I’ve put together a post so what have I been doing? Other than taxes? Ya, that takes a little time, along with shredding documents that have accumulated over the past year that don’t need to be saved. I’ve been going through a few more properties on the photography experiment board such as Shutter Speed, Aperture, ISO, and Photography Jargon as well as reading a book or two on photography. The photography jargon helped explain a few terms for me so I can understand them better. A worth while post to read. I couldn’t think of anything to write about regarding these and I’ve already completed the experiment recommended by Peter Carey covering these topics so there haven’t been any post recently.

One thing I’ve been thinking about lately is how to take time lapse photos. Using my point and shoot camera which was recently fixed, you can see that post here…, I tried it out just using the remote that came with the camera taking a photo as soon as the camera was finished processing each shot. There ended up being over 300 pictures taken over 30 minutes which ended up providing a 10 second time-lapse video. That was fun but how can I make a 4-5 minute time-lapse video using this technique? Through some research I found the Tempus time-lapse remote to take pictures every few seconds. Problem solved, let’s order one.

video
play-sharp-fill

Wait a minute! That will work for my point and shoot but what about the new Sony Nex 3 which does not have remote functions. When I purchased this camera I didn’t think the remote was very important since up to this point I never used it on other cameras. What that ever a wrong assumption now that I have a camera capable of shooting good nighttime photos. Who knew? Well, Tempus also comes with a mechanical trigger but at a much higher cost. Could there be another way? Through more time and research I came across ways to build my own mechanical time-lapse trigger which was a little more adjustable and would work on all of my cameras with considerably less cost.

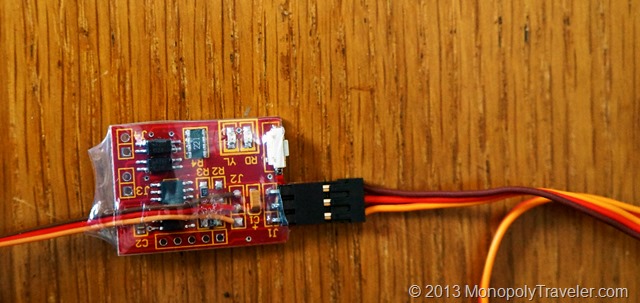
Shutterbug Pro Circuit Board

Finally I settled on the Shutterbug Pro which combined with a servo will take pictures at set time intervals. This is able to take extended photos in the bulb setting on dSLR cameras in order to capture light trails and star movement over time which I do want to try. Also, I get to build something and learn how to use things I’ve never used before. Learning is usually the best part for me and successfully using that knowledge. More new experiences!

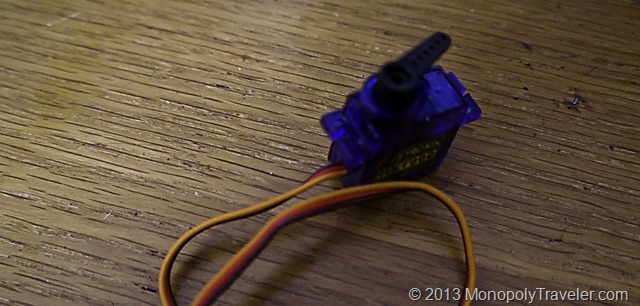
Hobby Servo

I’ll put up another post explaining how I did this later. To see that post click here….

To see the video created from this project click here….

The Exposure Triangle

Smallest Aperture

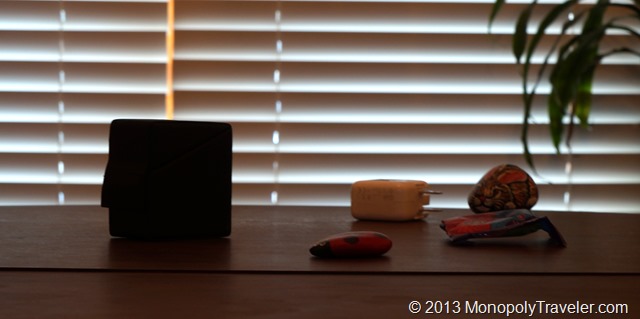
Continuing on with my determination to learn how to better use my camera, I took on a few experiments recommended by Peter Carey in his post about Exposure. The first one involves changing Aperture from the lowest aperture to the highest. On my camera that involved 6 different photos. My apologies as the lighting is not great for these photos but the basic idea still comes through.
Middle Aperture

In the top photo the background is completed blurry and the shutter speed was the slowest. As I progressed through each level I noticed two things happening. First, the shutter speed decreased as I moved the aperture higher. This is in response to the camera letting in less light (larger aperture) requiring a longer exposure to capture the elements in the photo to offset the smaller opening. Second, more and more of the background came into focus. You can see the difference in focus from the top photo to the bottom one. This must be what they call depth of field and what is meant by losing depth of field as the aperture increases. Nice experiment Peter!

highest aperture

The next experiment was with ISO. Keep aperture steady and increase ISO and see what happens. This took 8 photos for me to run through the available ISO range on my camera ranging from 200 to 16,000.

Lowest ISO

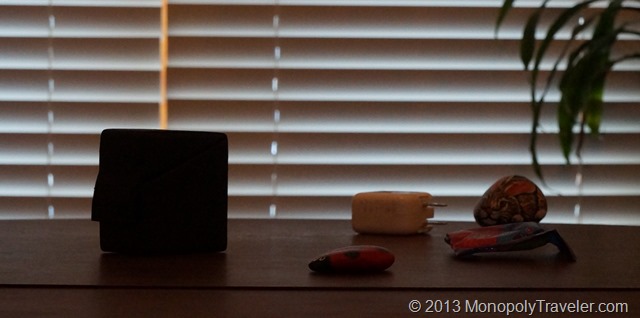
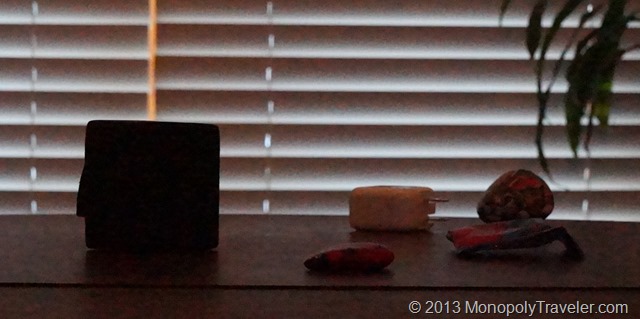
In the top photo the clarity is pretty good as this photo is magnified somewhat. Again as the ISO is increased the shutter speed changed. The higher the ISO the faster the shutter opened and closed to compensate for the sensitivity to light as affected by the changing ISO. As I moved to the middle of the ISO range you can see the graininess appear more in the picture below.

Middle ISO

Moving to the lower picture the graininess is really noticeable, especially on the white and black objects. Before understanding how the exposure, aperture, and ISO work together better, I used the exposure setting on my camera to change the picture not realizing that all that was doing was changing one or more of these settings. I thought it was a separate setting altogether. I’m gaining a clearer idea of how each of these can be used to change the look of a photo. A few thousand more photos changing the exposure settings and I should start to get a feel for which to adjust in different situations.

DSC01911

Fixing a Digital Camera

A Dusty Lens Ruining the Sunset

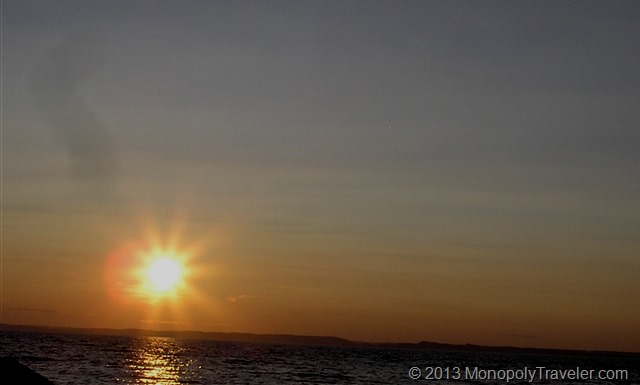
One of the reasons we replaced our old camera ( an Olympus C-750) was because there was dust particles on the lens. In the photo above you can see one of the particles just above the sun. This lens is sealed and requires taking the entire camera apart which is why this hasn’t been done until now. There are other reasons we upgraded cameras but this was the catalyst that dictated when.

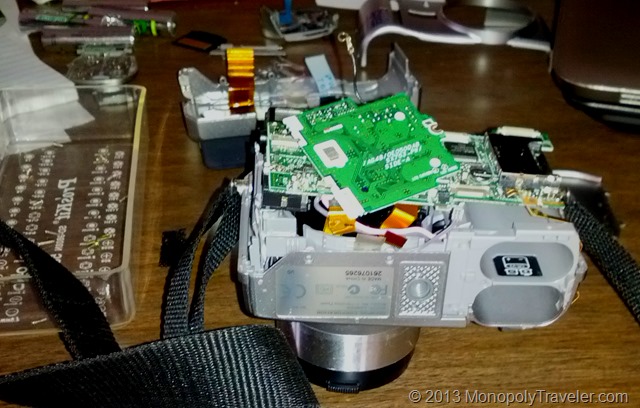
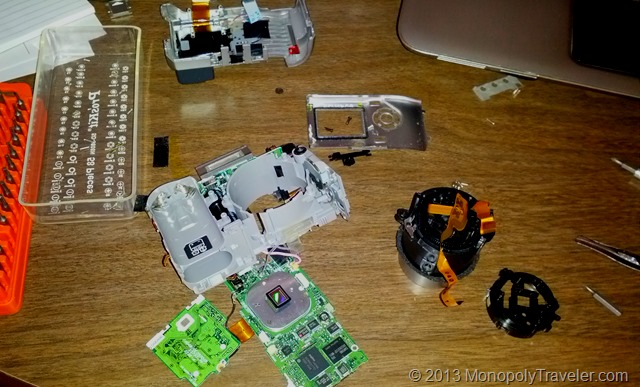
The Camera's Been Dismantled

I’ve been known to dismantle electronics before and get them back together successfully most of the time so why not give a digital camera a try. How hard could it be? Besides I came across a website with information on cleaning the lens on a similar camera to this one with nice pictures and everything. Didn’t look to terribly difficult. After some searching for a few screws I managed to get it apart without breaking anything as you can see in the photo above. That’s always a good start. There were 4 screws that hiding making it a bit of a challenge but once I found them all went pretty well. The lens is that black tube with some ribbons coming out of it.

Getting It Back Together

After some thorough but gentle cleaning I got it all back together. Now the final test is does it all work. The photo below was taken with this camera and there is no more dust visible on the lens. It may have taken a couple of weekends to accomplish the cleaning but I learned a lot about point and shoot cameras along with more capabilities that I didn’t know this model has. I always knew it was a good camera but there’s more versatility than I ever imagined using the manual modes. Certainly not SLR quality but better than most point and shoot cameras.

No More Dust

How to Hold a Camera

Drying Tomatoes

There’s not a lot of exciting things to say or show regarding holding your camera. One of the things I did learn about how I hold my camera is my arm position. According to Peter’s video (found here), holding your arm at you side can produce slightly less shaking. I naturally hold my arms slightly away from my body while shooting photos so this is one area I will continue to work on correcting.

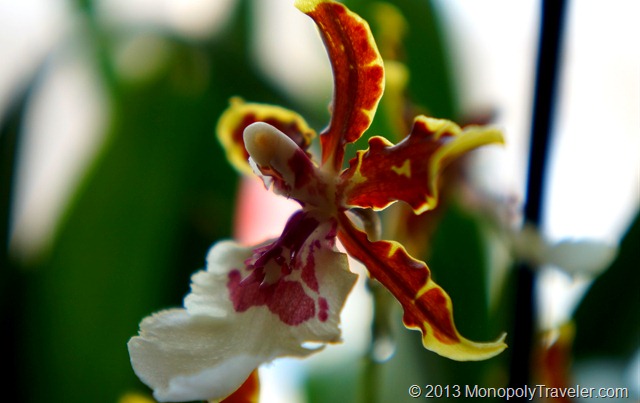
An Orchid Flower

While practicing I decided to also practice with my macro lens so these shots are all close ups. I decided this because I attempted to use this macro lens a few weeks ago and realized I was using it incorrectly. Amazing how much better the photos look when using a lens the right way. How was I using it incorrectly you ask, simple: I was trying to use it as a wide angle lens. I know, what kind of moron would confuse a macro lens with a wide angle lens? Apparently me that’s who.

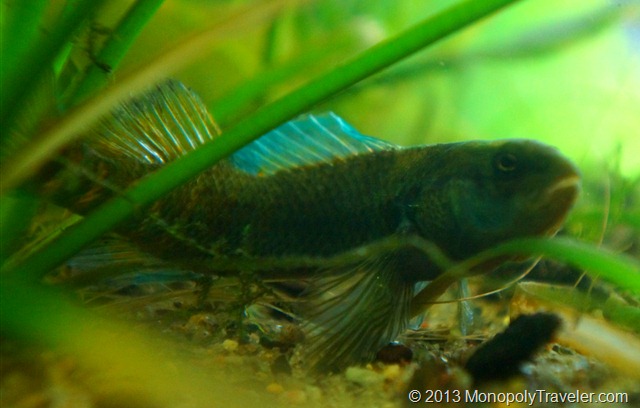
One of my Rainbow Darters

After noticing the photos where turning out blurry on the edges I searched how to use a macro and realized my idiotic mistake. Kind of feel stupid now. Error learned and shouldn’t happen again. Now I want to look at wide angle lenses as well.

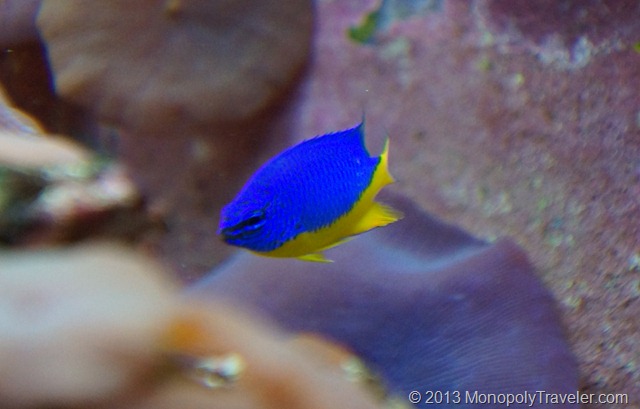
Blue Devil Damsel

Since I’m a horticulturalist I tend to photo landscapes, plants, and animals. I may be more of a naturalist but have a horticulturalist degree. Is that enough “ist’s” for you?

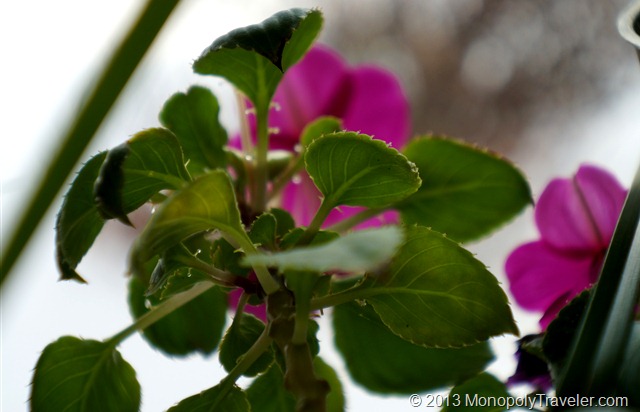
An Impatiens Plant in Flower

Apparently I found another use for a macro lense when plants are concerned. When looking at this photo on the computer I realized this plant has spider mites which you may be able to see on the lower right leaves. This plant was immediately treated after seeing this photo.

Playing in the Snow

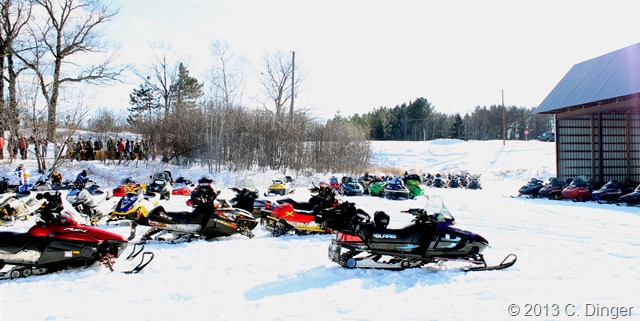
Snowmobiling in the Chequamegon National Forest

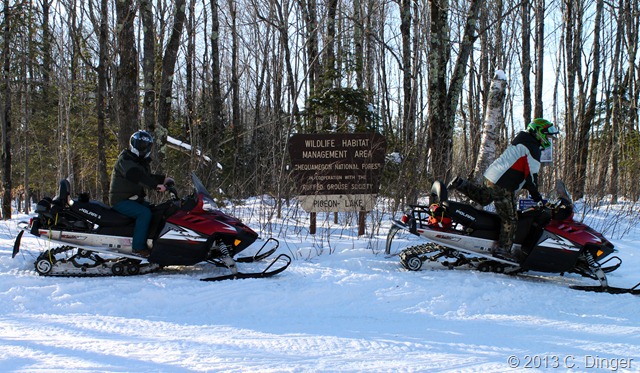
The holidays are past, football is over, and there is still plenty of winter to go. What to do during these cold days? It’s been awhile since I’ve been on a snowmobile so this seemed like a good way to spend a day in Northern Wisconsin. Downhill skiing would have been another option and may still be one of these weekends coming up. It was a cold day but that doesn’t matter with current snowmobiles as long as you’re dressed for it. Many of these machines now come with effective foot warmers and hand warmers making the adventure much more comfortable. Two areas that quickly become cold providing a less enjoyable experience.

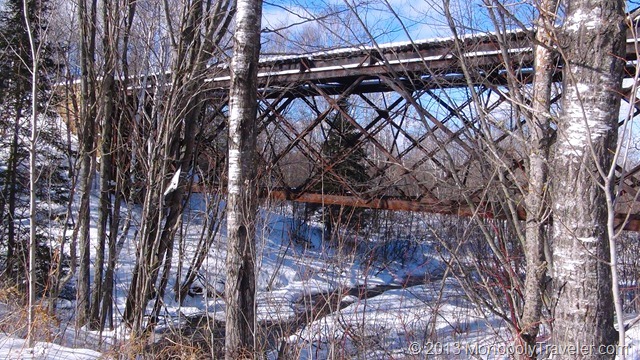
Stream Under Train Tracks

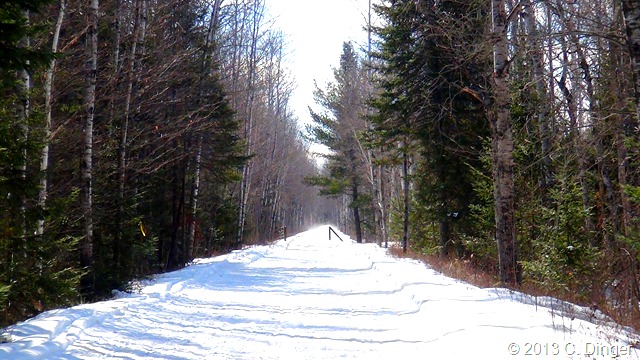
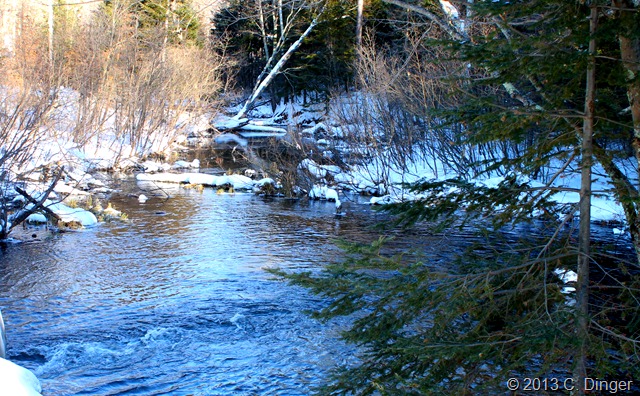
Northern Wisconsin is beautiful during the summer and a popular place to visit. However during the winter you can travel through areas that just aren’t accessible during the summer due to frozen ground. There is a serenity during the winter as so many living things are resting causing those that are enjoying these surroundings to relax as well.

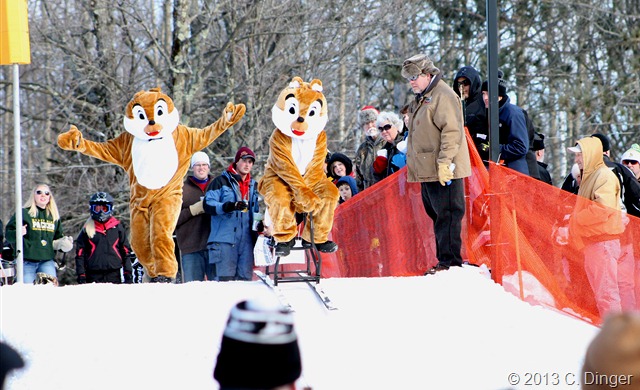
Chip and Dale Barstool Skiing

While traveling into one of the many small towns on the thousands of miles of trails we came upon Barstool races in Drummond. We needed to fuel the sleds as well as ourselves so some time enjoying this competitive event seemed like a good idea. At first it was unclear what was going on. Our only clues where cars parked along the roadsides and a lot of snowmobiles in the area both moving and parked. Eventually it was figured out that this was the day of what appears to be a popular event known as the barstool races. Some of these barstools attached to skis get pretty elaborate. There is definitely some time put into building such a unique sled if you can call it that.

Some of the Many Snowmobiles

These seemingly endless miles of trails go through some amazingly scenic terrain. It was always a challenge to decide how fast to go. Flying through the snow at 50 miles an hour with nothing between you and the surroundings gets the adrenaline pumping. Slowing down to take in the landscapes you are passing is a must. The trick is to balance out enjoying the views and the wind blowing by as you travel quickly on top of this white powder.

Scenic Trails

I’m ready to go again anytime soon!

Water Rushing Through the Snow

How Your Camera Works

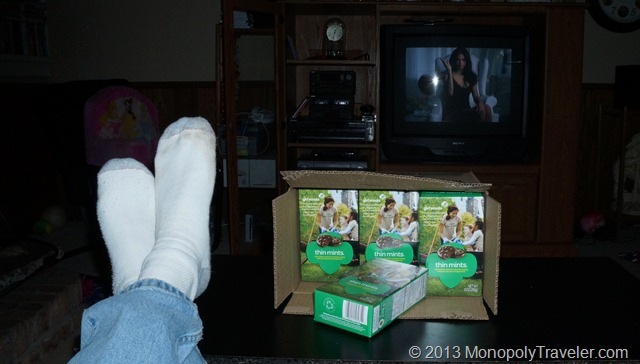
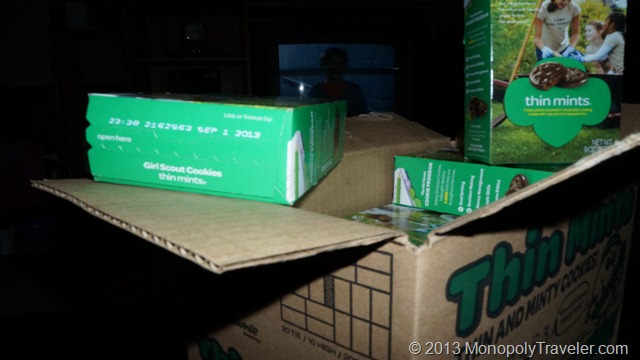
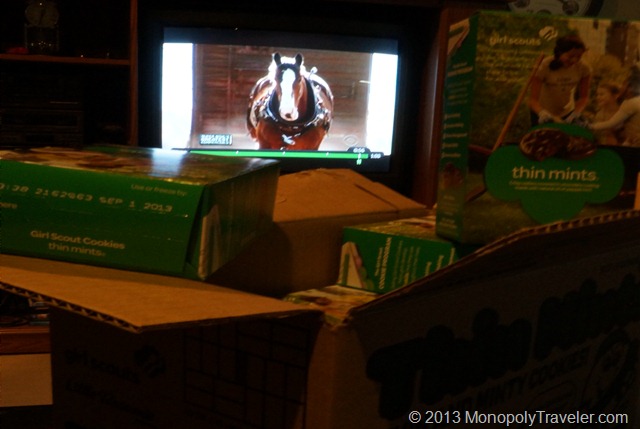
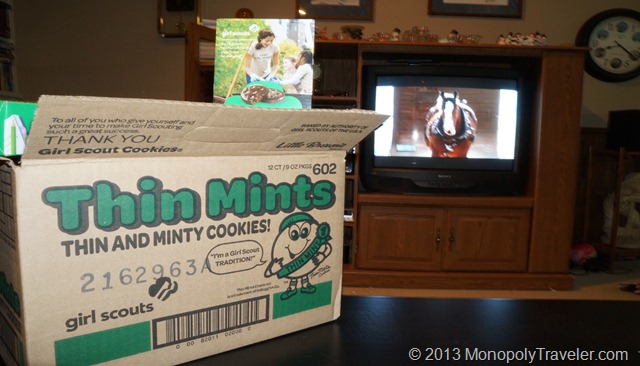
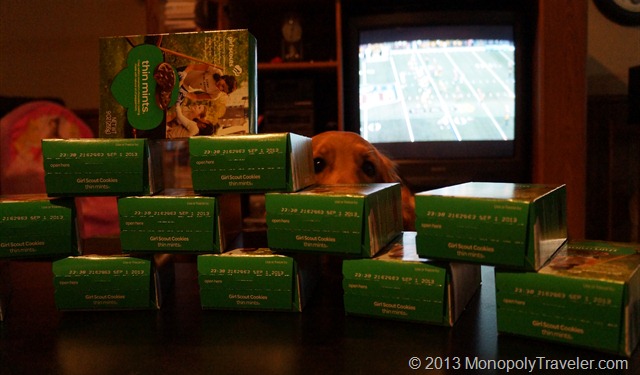
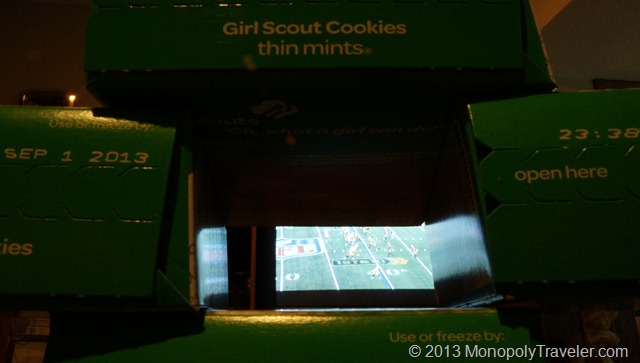
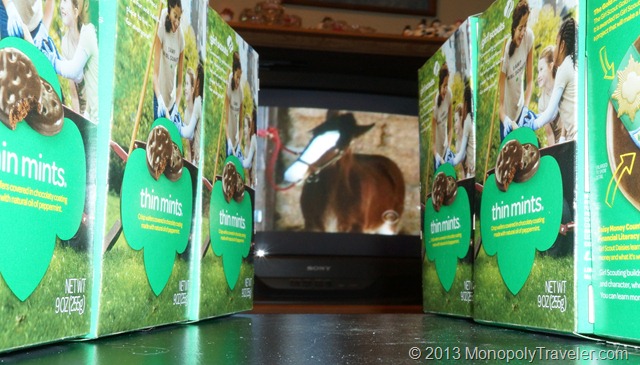
While thinking about adventures in the Rockies or Isle Royale and dreaming of exploring the U.S. Virgin Islands for a week during the winter I decided to start the photography experiment.  The first spot on the board is How Your Camera Works. As luck has it, girl scout cookies are now available and since I have two girl scouts I thought this was a great opportunity to use a few thin mints as photo subjects. In addition, is there a better treat during the football game of all games – the Super Bowl?

One of the experiments listed on this post by Peter Carey is to take 10 photos of one object and make each one different in some way. So here ya go:

Cracking Open a Case of Thin Mints

Without the Flash The lighting while taking these was not great so I had   the opportunity to play with the flash a little bit while  watching Super Bowl commercials. The photo on the left is without the flash.


Playing with Perspecitve

Changing Shutter Speeds and Exposure

Looking for different perspectives. The low ambient light combined with light from the television makes for an interesting situation. Shooting in shutter priority seemed to give the best shot. Of course this could have been helped by using a tripod as the shutter was slowed down. Surprisingly this photo came out pretty clear.

Adding Flash

Adding in the flash and manual focus to the shutter priority improved the overall picture. While looking at the information of this one I noticed white balance was manual. Knowing that could bring a little better color. More to play with I guess.
Another Set of Hungry Eyes

Looks like I’m not the only one looking for a snack of thin mints.

Tunnel Vision

Watching the game with tunnel vision.

Another Tunnel

Adding flash to a different tunnel gives a whole different photo.

Changing Focus

Adjusting the focus allows me to highlight different portions of this subject.

A Low Perspective

Shooting from the bottom. Not sure if I like it for this particular photo but it provides for a unique shot. There is one advantage with the camera I’m using, the LCD adjust so I don’t have to stand on my head for a shot like this.

Where Can I Get a Cookie?

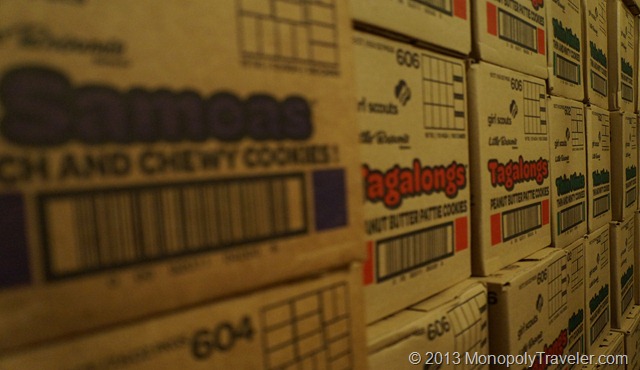
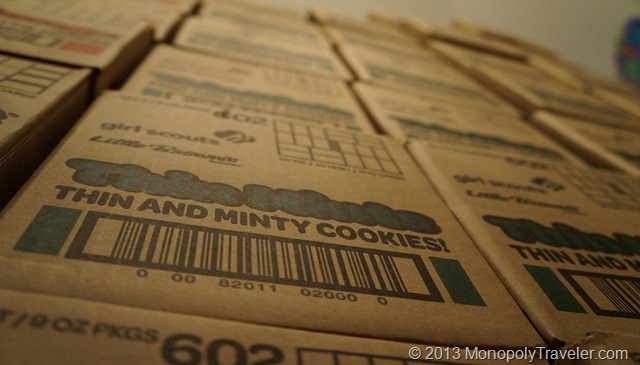
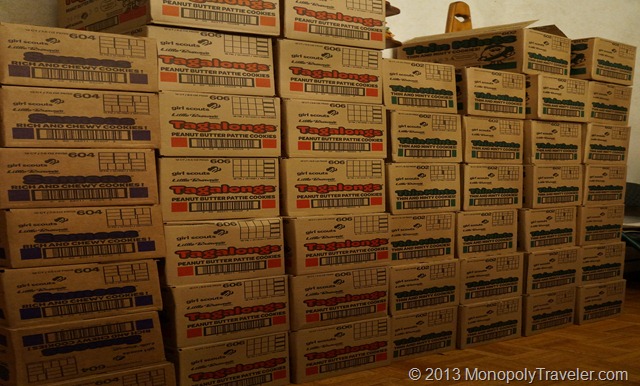
Does anyone know where to get girl scout cookies? I think it’s going to take me awhile to eat all of these. When I tell people I have walls of cookies at the house they’re not sure exactly what I mean. This is what I mean. Is this an indication of a girl scout cookie problem? They just keep multiplying.
As a side note, I did not alter these photos if you couldn’t tell. Digital processing comes later. This experiment just focused on learning more about the camera.